Kitchen Renovation Timelines: What Happens and When
Most kitchen renovations take a few weeks on site once the cabinetry is built, plus the design and build lead time beforehand. Here is what happens at each stage.
Most kitchen renovations take a few weeks on site once the cabinetry is built, plus the design and build lead time beforehand. The exact timeline depends on the size of the kitchen, whether the layout changes and any plumbing or electrical work, and you get a realistic schedule with your quote.
That lead time matters because the planning, measure, selections and cabinetry production are what make the on-site stage orderly. If those decisions are rushed, the house may be without a working kitchen while missing details are still being worked out.
This guide explains the sequence H&R Kitchens uses for kitchen renovations across Sydney, from first brief to final adjustment. The duration of each stage depends on the room, access, selections and current production schedule, so the written programme for your project always takes priority over a general estimate.
Stage 1: room details, photos and address
The first step is to establish the room, suburb, property type and the work you want completed. Photos from several angles help show windows, doors, services, nearby rooms and access. For an apartment, include the strata or building renovation requirements if you have them.
At this stage, separate the essential outcomes from the finishes. More preparation space, a better pantry, two clear working zones or an easier route to the dining area are useful design objectives. A colour name does not yet describe the work.
Stage 2: measure and layout development
The site measure records the room that will actually receive the cabinetry. Wall lengths, ceiling heights, openings, services, floor conditions and appliance requirements all matter. In older homes, walls may be out of square; in apartments, the delivery route and lift dimensions can influence how cabinetry is manufactured and brought to the lot.
The layout then moves through storage, appliances, preparation space and circulation. This is where you decide whether the existing service positions can stay or whether the practical improvement justifies moving them. Our kitchen design service keeps those choices connected to what can be manufactured and installed.
Do not order appliances from memory
Confirm the exact appliance models and installation requirements before cabinetry dimensions are released. A different hinge, ventilation requirement or door projection can change the cabinet around it.
Stage 3: selections and written inclusions
Cabinet door finish, internal hardware, benchtop, splashback, handles and appliance details need to be confirmed against the layout. The quote should also make clear who is responsible for removal, plumbing, electrical, flooring, painting and waste.
The practical result of this stage is a buildable plan: the room has been measured, the cabinet design is agreed, the materials are known and the work around the cabinetry is assigned. Changes after this point can affect both production and the installation date.
Stage 4: cabinetry production
Custom cabinetry is usually made before the old kitchen is removed. Most kitchen cabinetry takes a few weeks to build in the workshop, depending on the number of cabinets, the finish and any appliance integration. Panels are cut, cabinet parts are prepared and the joinery is assembled for the measured room. The drawings, appliance details and confirmed dimensions need to remain consistent through this production period.
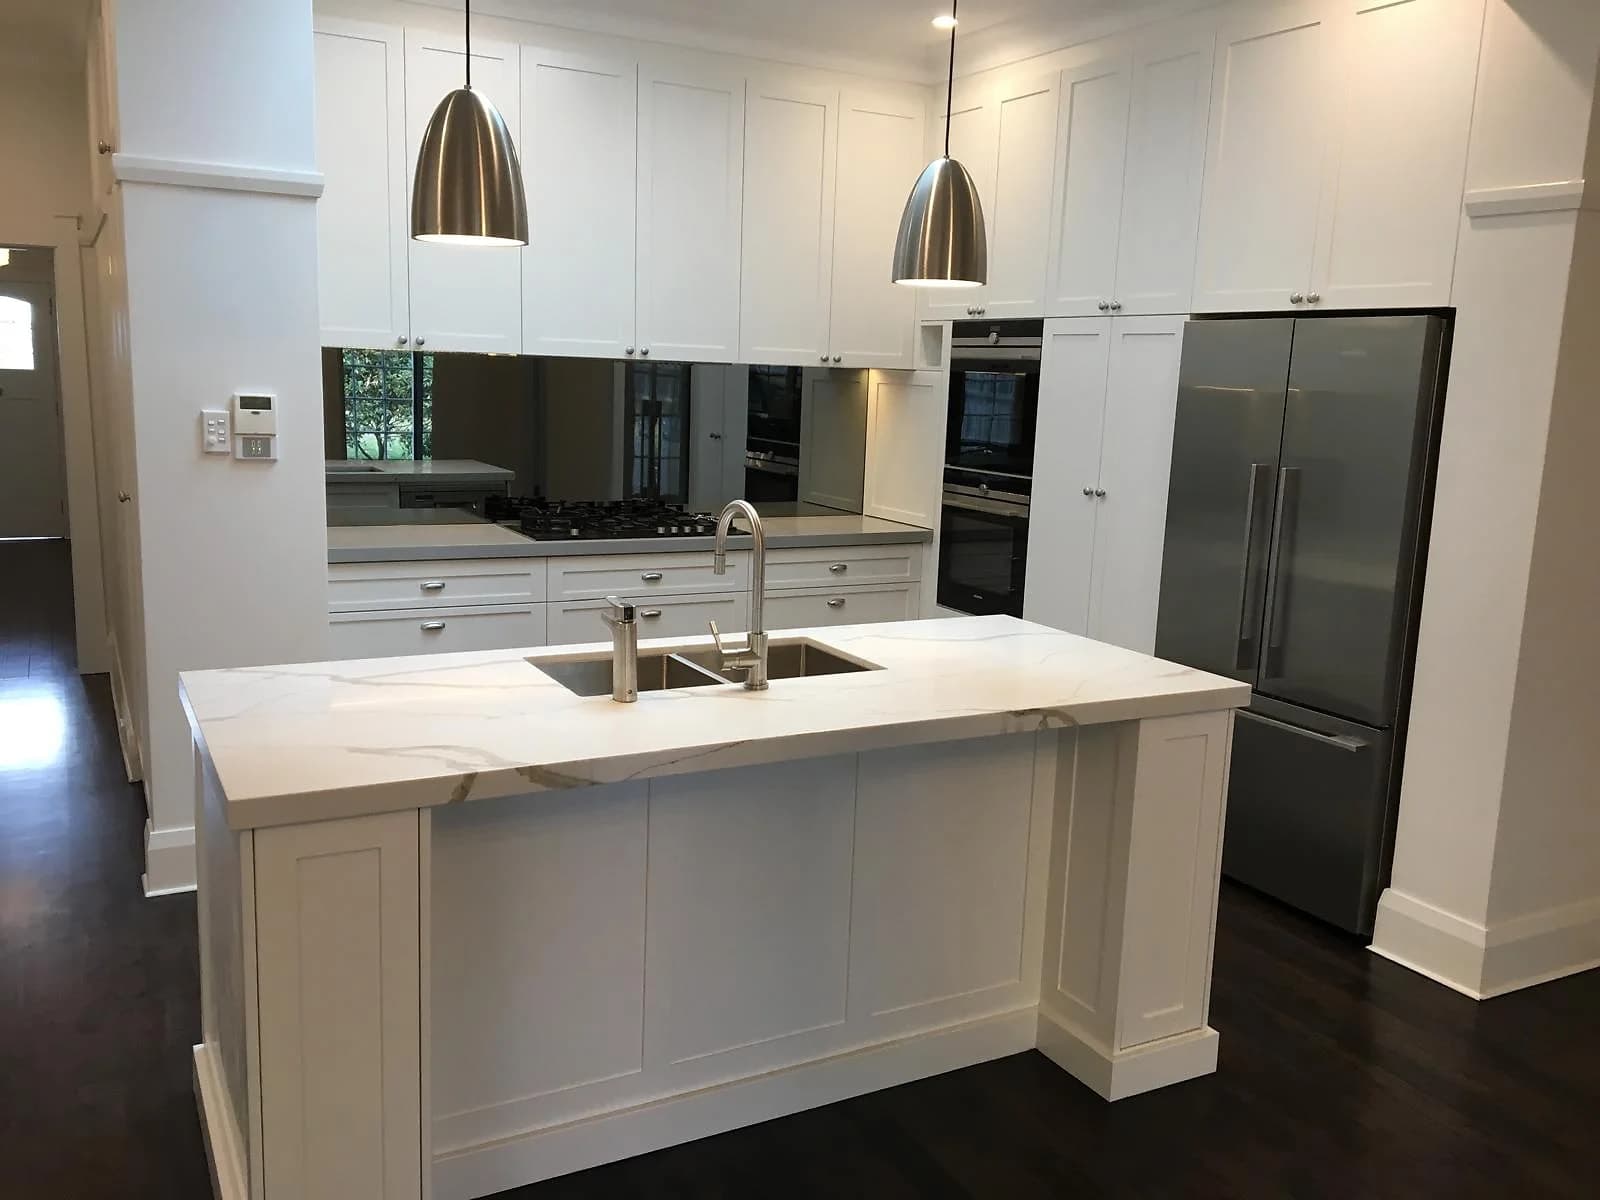
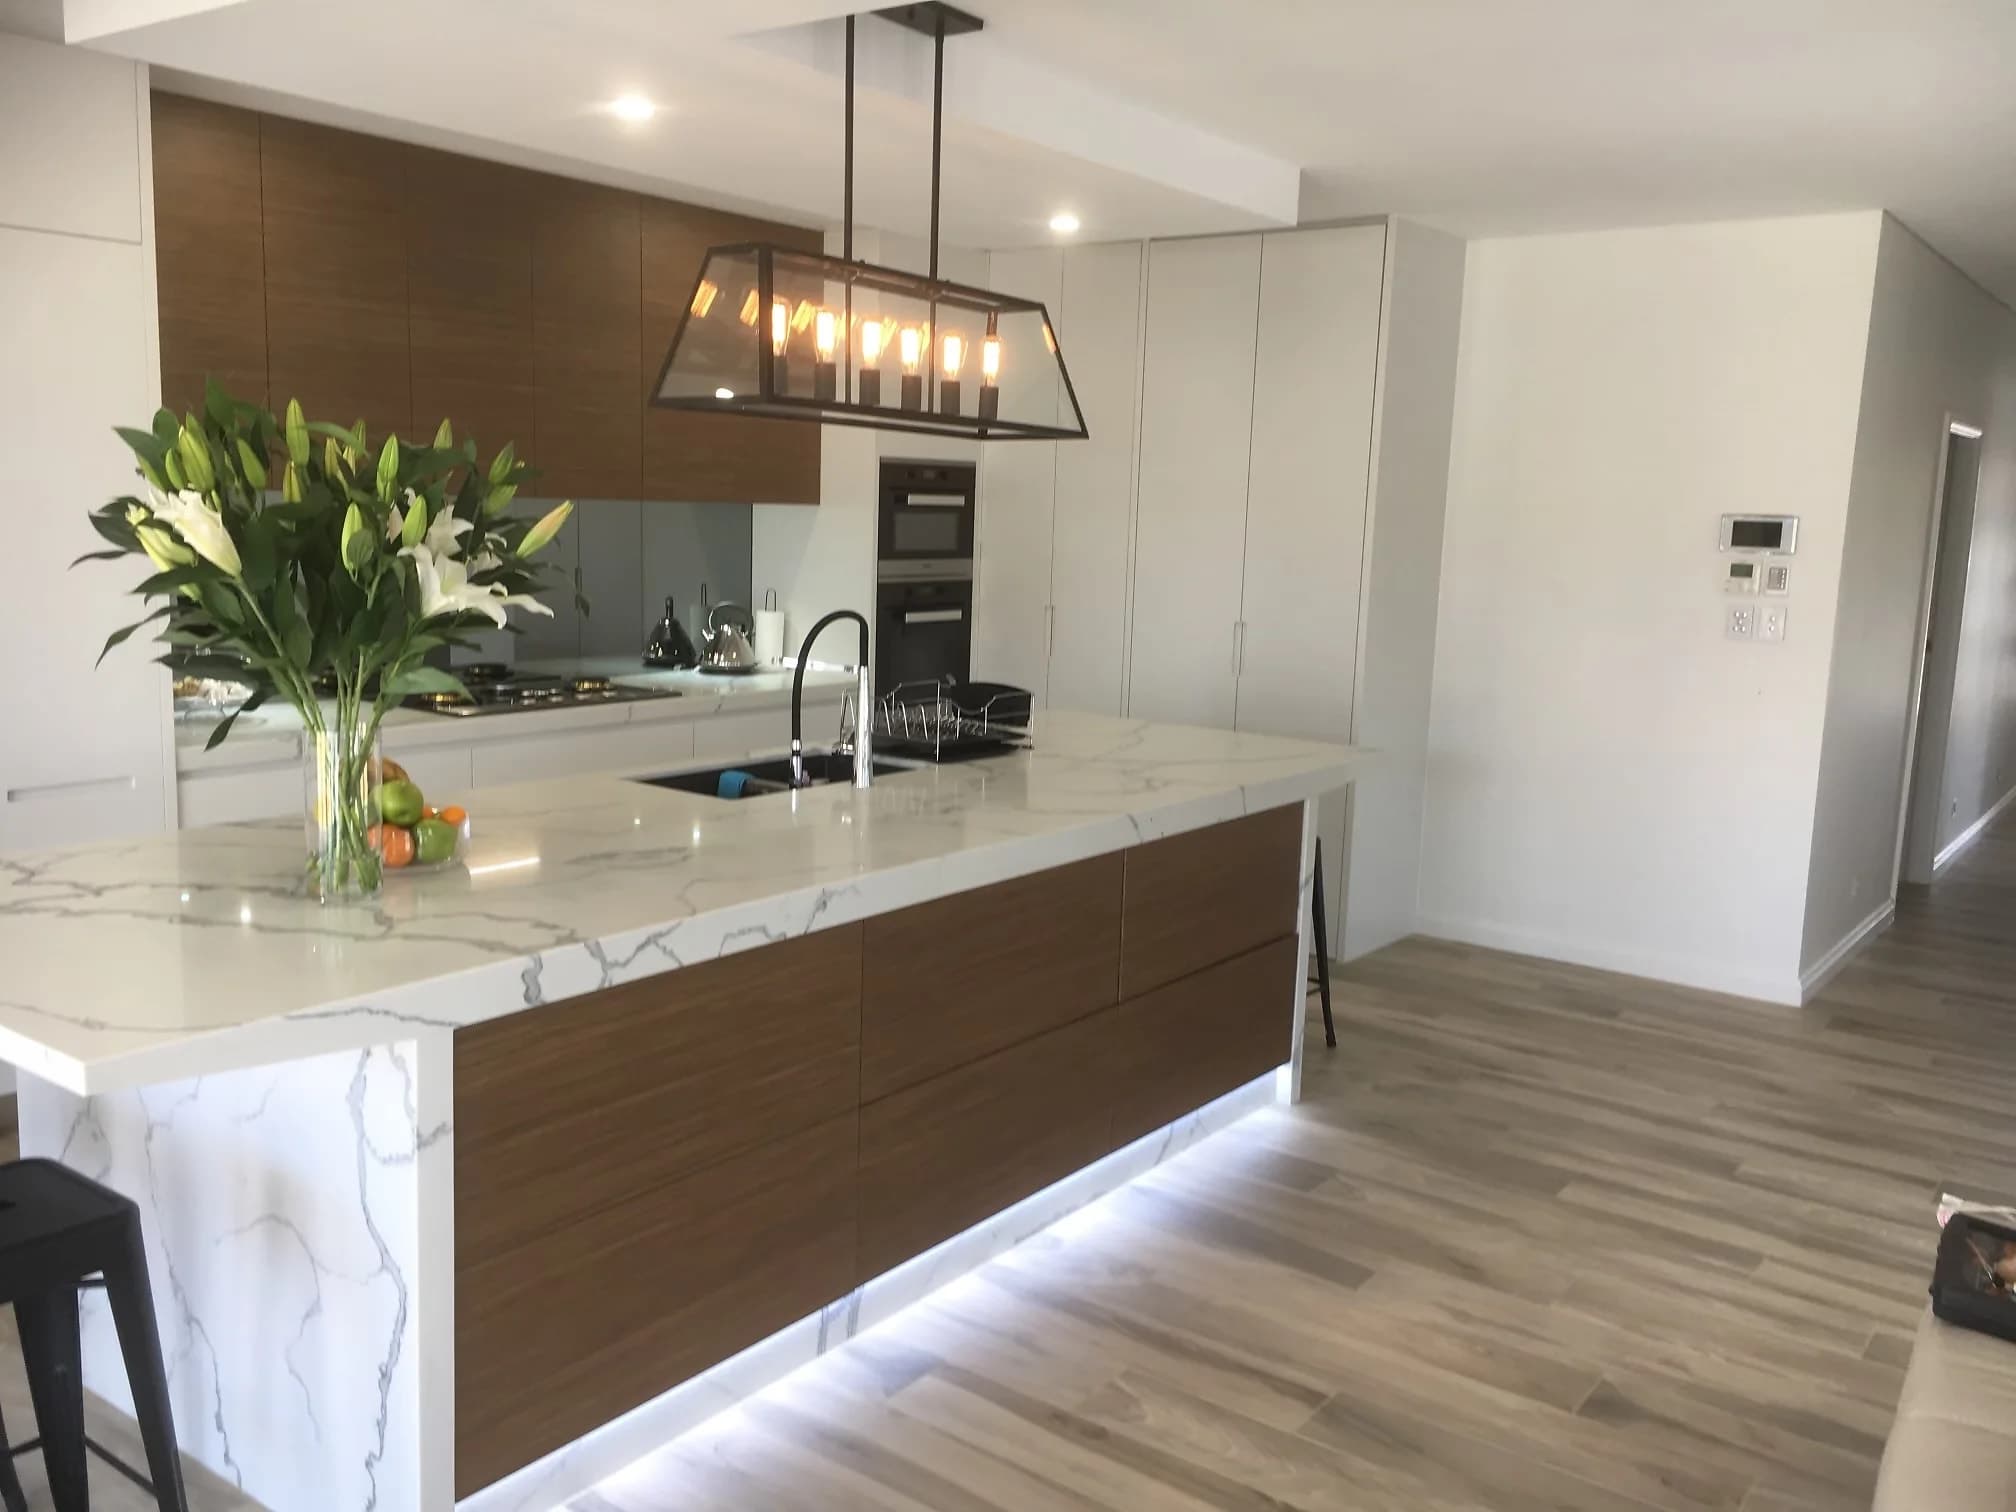
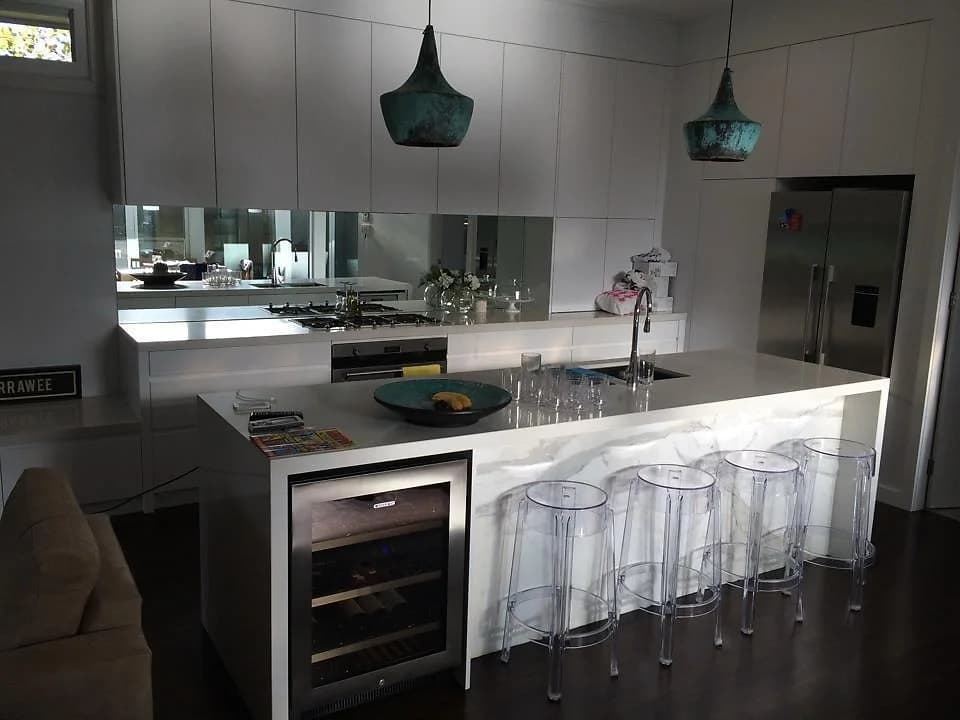
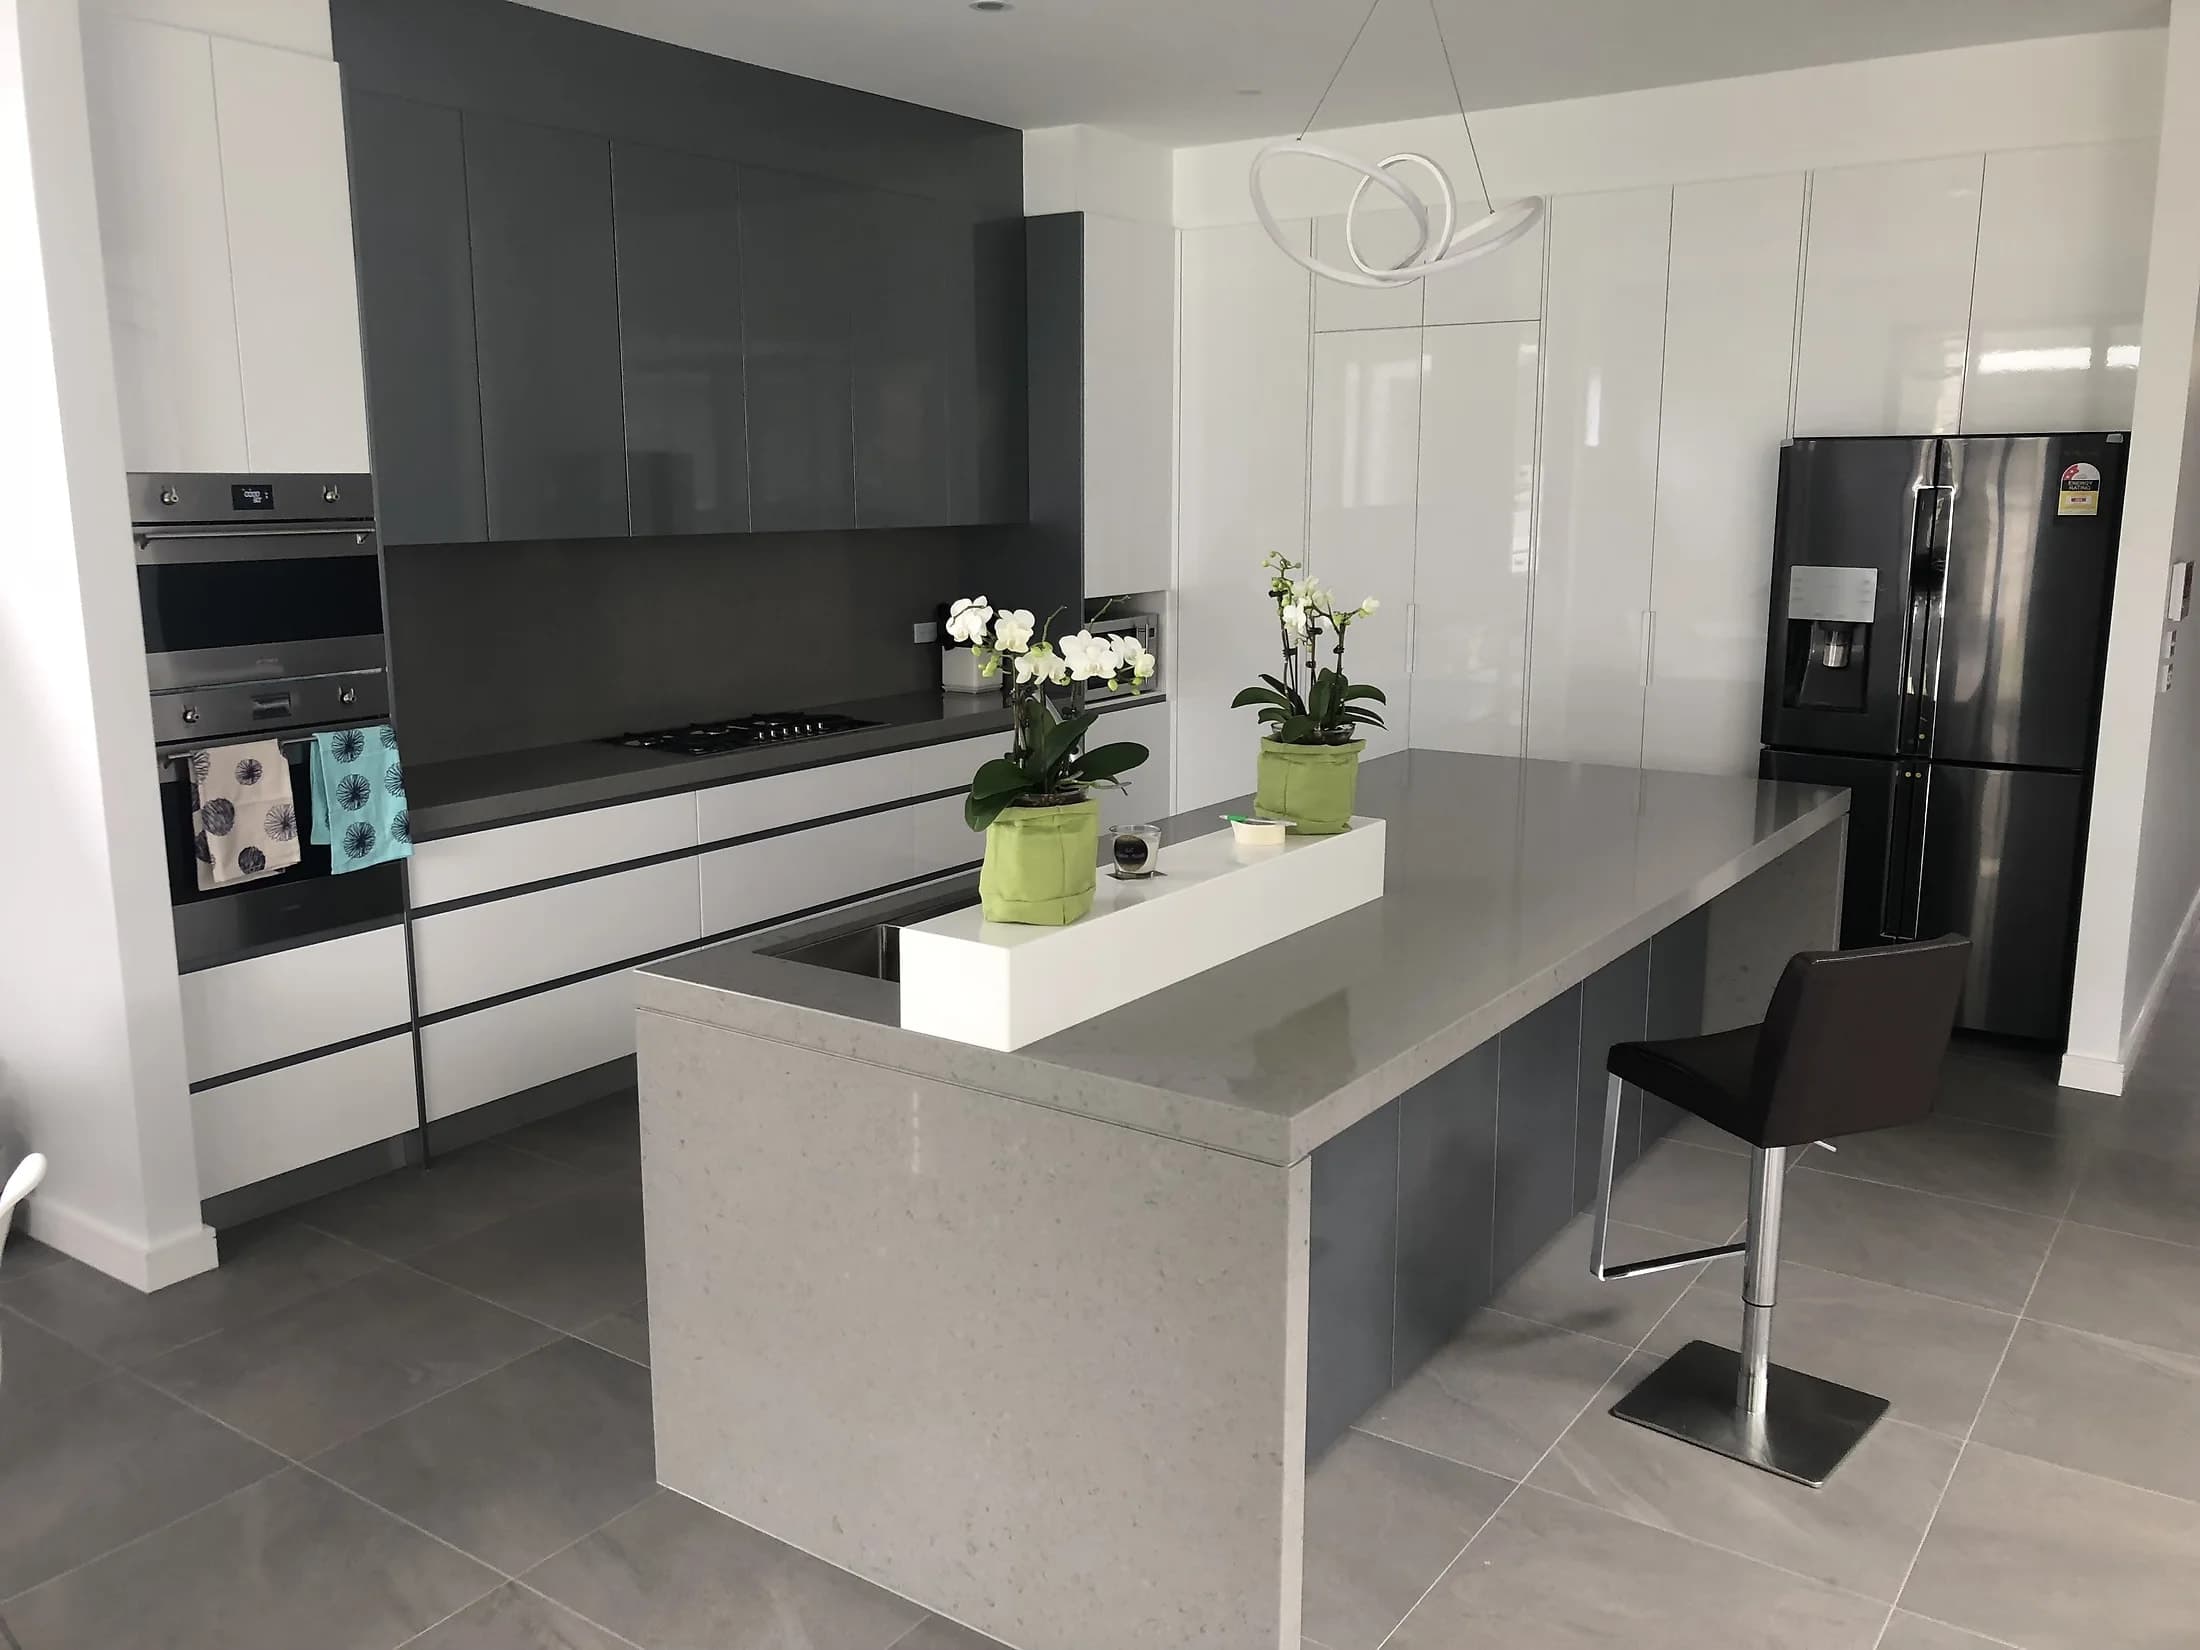
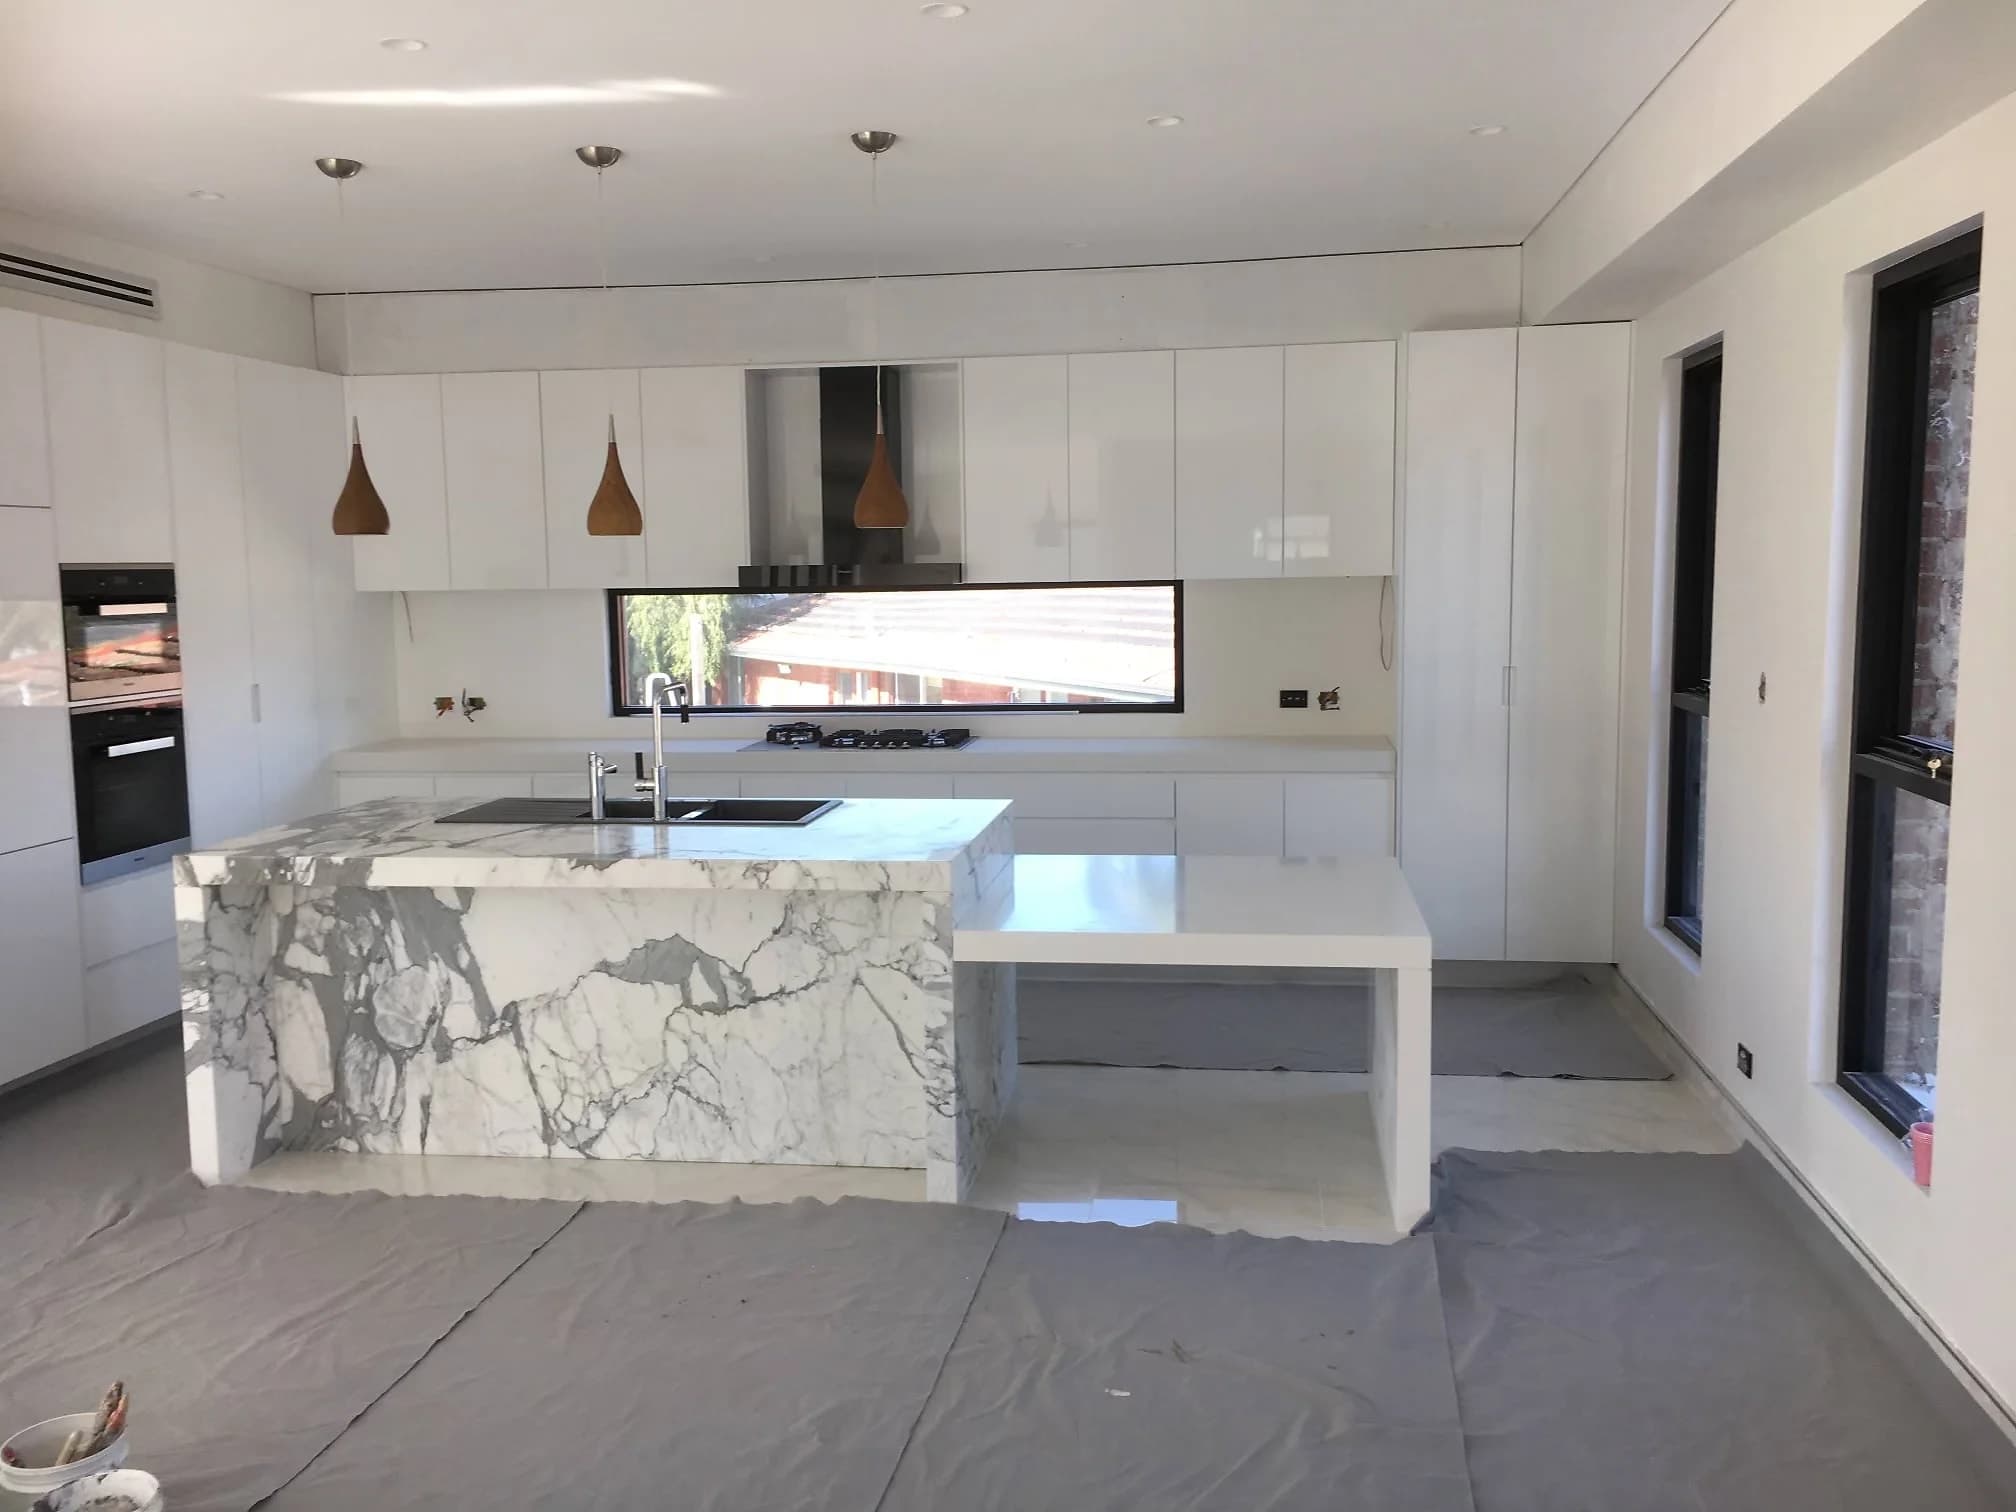
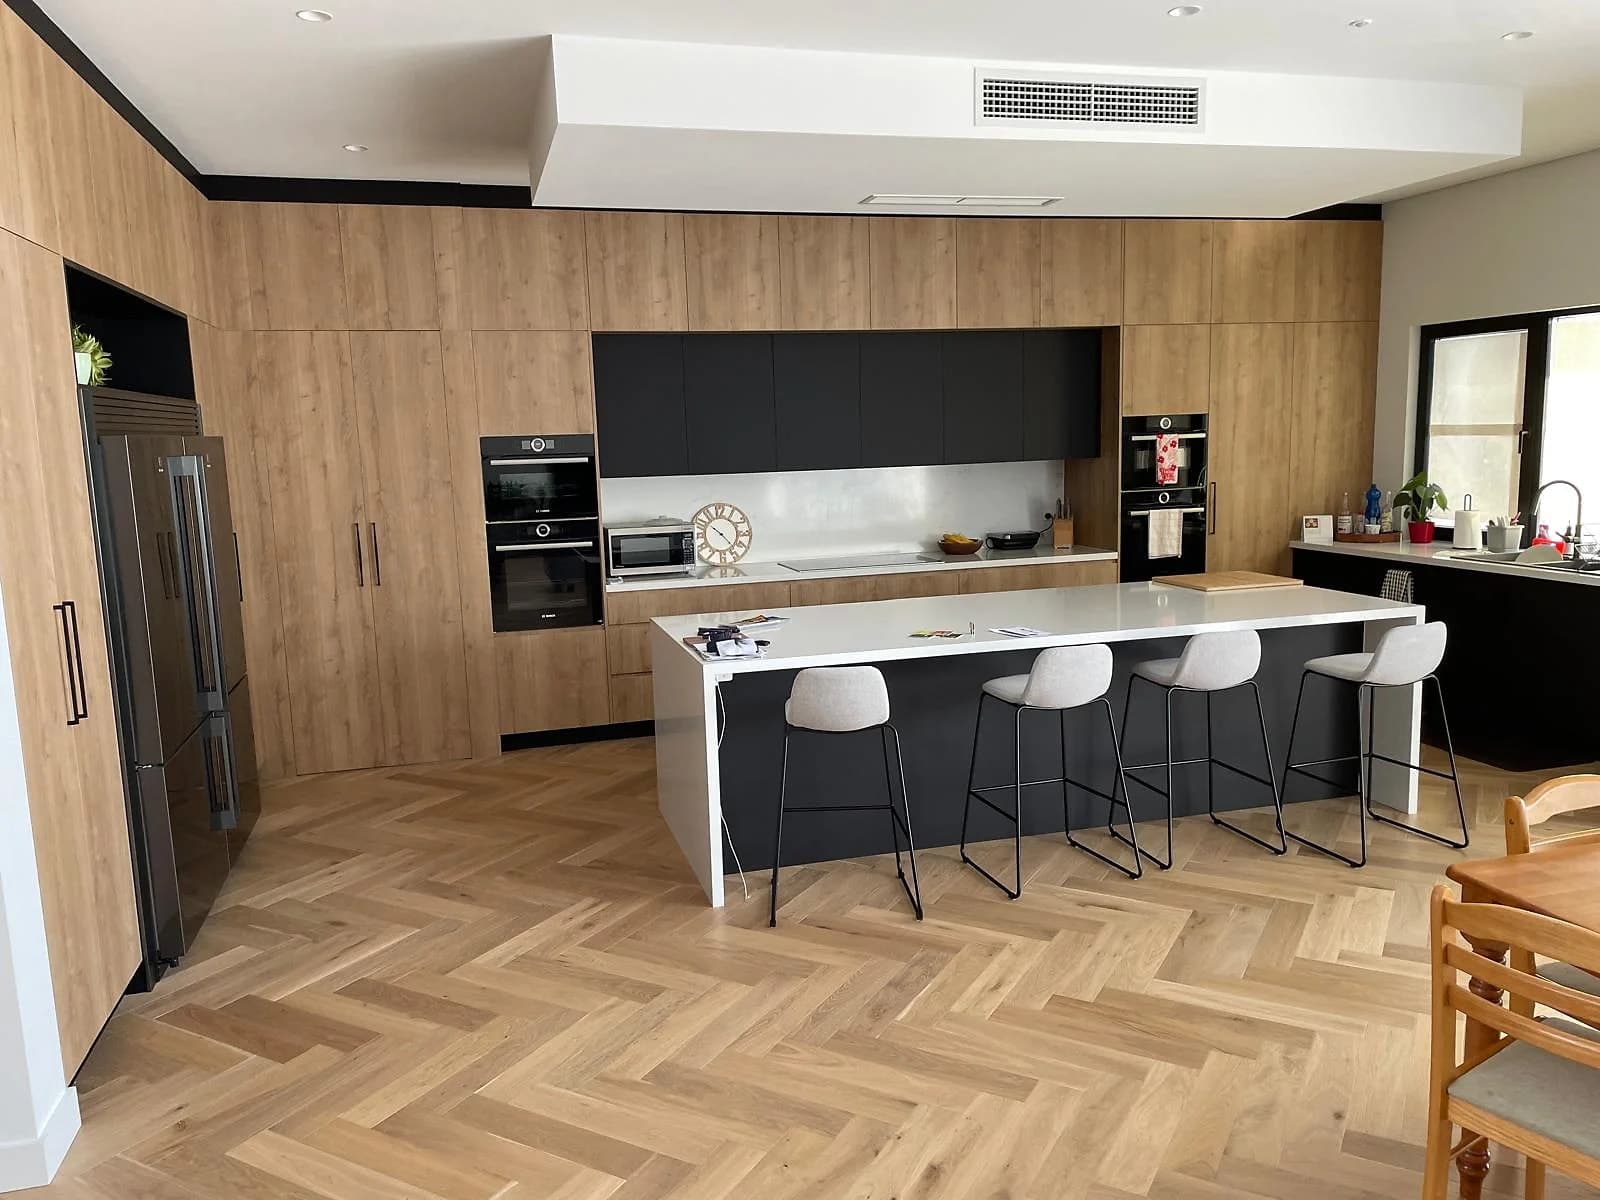
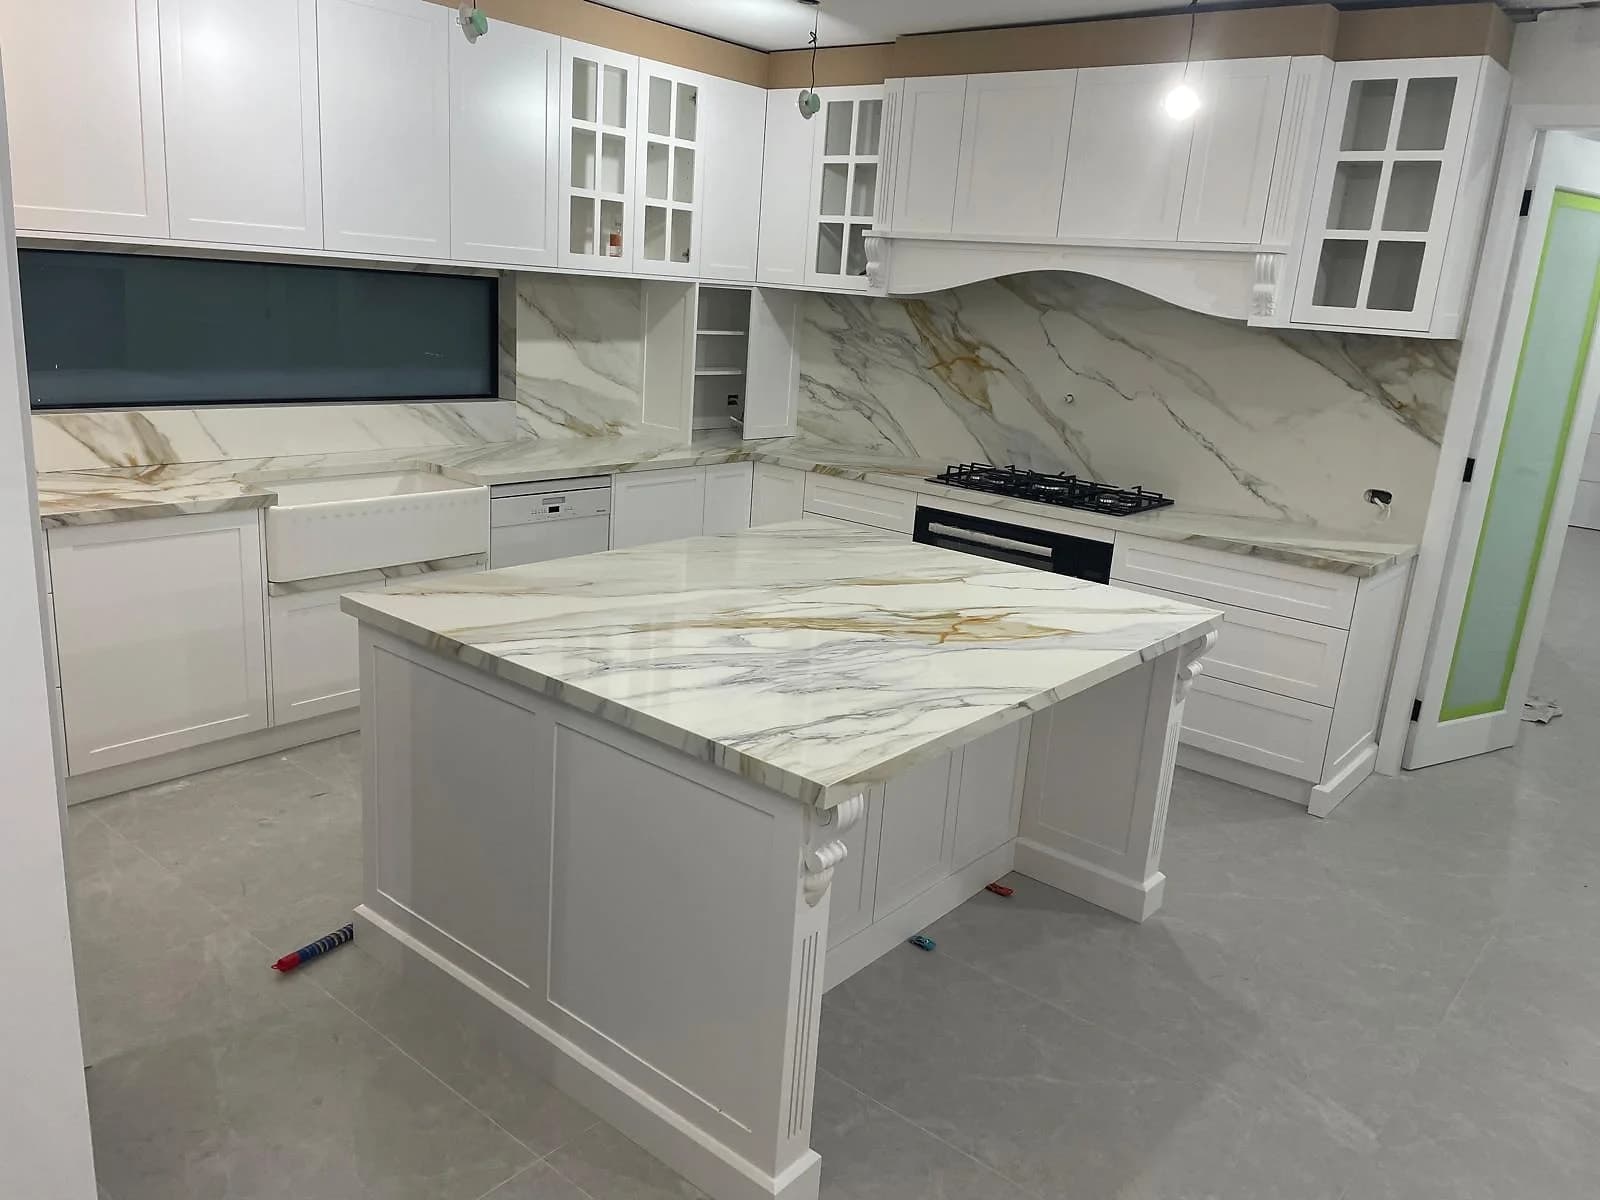
You can see cabinetry production and installation imagery in the project gallery. The images help explain why production is a separate stage rather than something that begins after demolition.
Stage 5: prepare the home
Before removal day:
- Empty cabinets and label anything that must remain accessible.
- Confirm the temporary kitchen position for the fridge, kettle and microwave.
- Clear the delivery route and arrange parking, lift or loading access.
- Confirm building working hours and protection requirements.
- Check that appliances and owner-supplied items are available when required.
- Protect children and pets from the work area.
For strata projects, do not assume a verbal conversation with a building manager is the approval. Keep the required approvals, contractor documents and bookings together.
Stage 6: removal and site checks
Electricity, gas and water are isolated or made safe by the applicable licensed trades before demolition affects them. This is a safety-critical trade responsibility, booked as part of the work, not a cabinet-removal detail. Identify any service that must stay live elsewhere in the home.
Doors, appliances, benchtops and cabinets then come out in a controlled order, with retained floors, walls, windows and adjoining rooms protected. In apartments, removal may be limited by working hours, lift bookings and common-area protection. In terraces or homes without side access, the carry route may run through the house.
Once the old cabinetry is gone, the walls, floors and services it hid can be checked. Out-of-square walls are usually allowed for in the custom dimensions, but damaged substrate, leaks, unsafe wiring or other hidden conditions need to be fixed by the responsible trade before they are covered again.
Pause for conditions that affect the new work
Installing over a leak, an unsafe service or an unsuitable substrate does not make the job faster. Agree on the fix and any change to the work before continuing.
If services move, the rough-in is completed for the confirmed appliance and fixture positions, checked against the final cabinetry drawings rather than an earlier concept.
Stage 7: cabinets, benchtops and connections
Cabinets are brought in, positioned, levelled and fixed. Tall units, base units, panels, fillers and overheads are aligned, then doors, drawers and internal hardware are fitted. Walls, floors and ceilings are never perfectly uniform, so scribes and panels connect the made-to-measure cabinetry to the actual room.
The benchtop follows its material's process. Many surfaces are measured once the base cabinets are fixed, then fabricated and installed, with cut-outs, joins, edges and overhangs matching the agreed design. Our benchtop material guide compares the options.
The applicable licensed trades then connect the plumbing, electrical and gas items, and appliances go in to the manufacturer's requirements with ventilation, clearances and service access kept. Doors and drawers are checked around appliance openings. The splashback follows its tile, glass, stone or porcelain process, with power points and the rangehood sitting cleanly in the set-out (see the splashback comparison). Painting, flooring edges and silicone finish the room in the agreed order.
The kitchen may look finished before every adjustment and connection is complete. Allow the team to finish the details, test openings and check where cabinets, surfaces and appliances meet.
Stage 8: final checks and handover
The final stage covers door and drawer adjustment, hardware checks, visible finish review and the agreed handover items. Keep care information for the cabinet fronts, benchtop, splashback and hardware with the appliance documents.
What should the quote make clear?
| Part of the work | Question to answer |
|---|---|
| Removal | Who removes the old kitchen and the waste? |
| Services | Who isolates, moves and reconnects each service? |
| Cabinetry | What cabinets, panels, hardware and installation are included? |
| Surfaces | Who measures, fabricates and installs the benchtop and splashback? |
| Preparation | Are wall, floor, painting or structural works included? |
| Access | Are apartment, stair, protection or long-carry conditions allowed for? |
What can extend the timeline?
Common causes include late appliance changes, unavailable materials, outstanding structural or service work, strata access restrictions, hidden site conditions and additions to the agreed work. The best protection is to make decisions in the right order and confirm responsibilities before manufacturing begins.
With our kitchen renovation service, you get a realistic schedule with your quote. For a timeline based on your actual room, send H&R Kitchens photos, the suburb, property type and the work you have in mind.
Frequently asked questions
When should the old kitchen be removed?
After the new design, selections, cabinetry production and required trade arrangements are sufficiently confirmed. Removing it early does not make the custom cabinetry arrive sooner.
Who reconnects the plumbing and electrical items?
The applicable licensed trades. The written quote should state who arranges each one.
When is the benchtop installed?
It depends on the material. Many surfaces are measured after the base cabinets are fixed, then installed once they are fabricated.
Can I live at home during the renovation?
Many households do, but you need a temporary food-preparation area and a clear plan for the period without the sink, cooktop and normal storage. Site safety and access must remain controlled.
Does an apartment kitchen take longer?
Not automatically, but approval, lift, loading, protection and working-hour conditions can add coordination. Supply those requirements early so they can be included in the programme.