Kitchen Splashback Materials Compared: Tile, Glass and Stone
There is no single best splashback: glass and large-format surfaces are easiest to clean, tile offers the most design range and stone connects with a stone benchtop.
There is no single best kitchen splashback material: glass and large-format porcelain or sintered surfaces are the easiest to keep clean because they have the fewest joints, tile gives the widest design range and replaceable pieces, and natural stone connects most strongly with a stone benchtop. The best one for your kitchen is the material whose main consideration (grout, accurate cut-outs, slab variation or specialist fabrication) suits the room, chosen beside the benchtop and cabinet door in the room's own light.
A splashback has to manage heat, moisture, cooking residue and cleaning while connecting the cabinetry and benchtop visually. Our kitchen splashback service plans glass, tile, stone and porcelain with the benchtop, cabinetry and appliance positions, and the sections below compare how each material behaves at joins, edges, power points and corners.
Tile splashbacks
Tile offers the widest range of colours, scales, patterns and surface textures. It can be restrained and quiet or become the feature of the room.
The important detail is grout. More joints create more lines and more areas to clean, particularly behind the cooktop. Grout colour changes the visual effect: a close match keeps the field calm, while contrast emphasises every tile. Layout should be set from the visible centre lines, cabinet edges, power points and corners so small cuts do not gather in the most noticeable place.
Tile suits projects that need material variety, repairable individual pieces or a finish distinct from the benchtop.
Glass splashbacks
Glass creates a continuous, easy-to-wipe surface with few visual interruptions. Colour-backed glass can bring a clean block of colour, while selected reflective finishes can increase light.
Accurate wall measurement and cut-out positions are critical. Power points, edges and corner conditions are prepared before manufacture. A highly reflective surface will also show surrounding colours and activity, so view the effect in the room rather than treating the finish piece as a flat colour.
Glass suits kitchens where easy cleaning and a controlled continuous finish are priorities.
Natural stone splashbacks
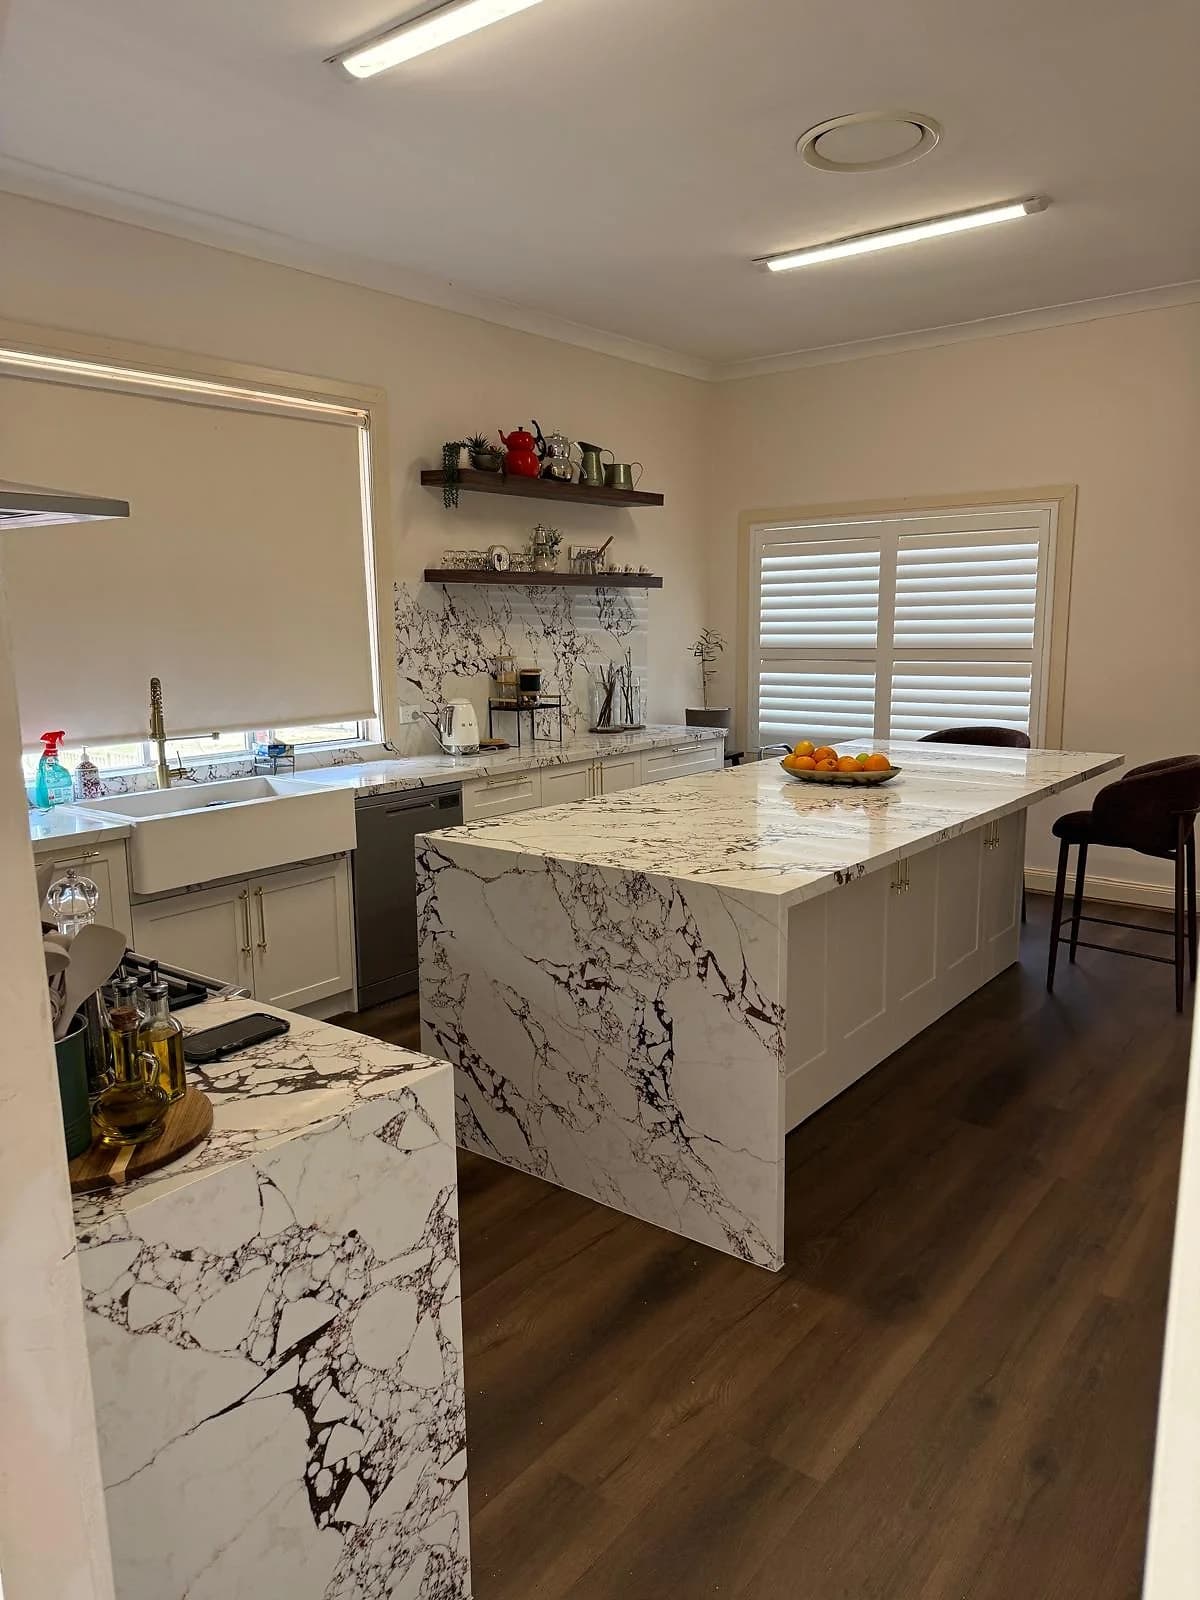
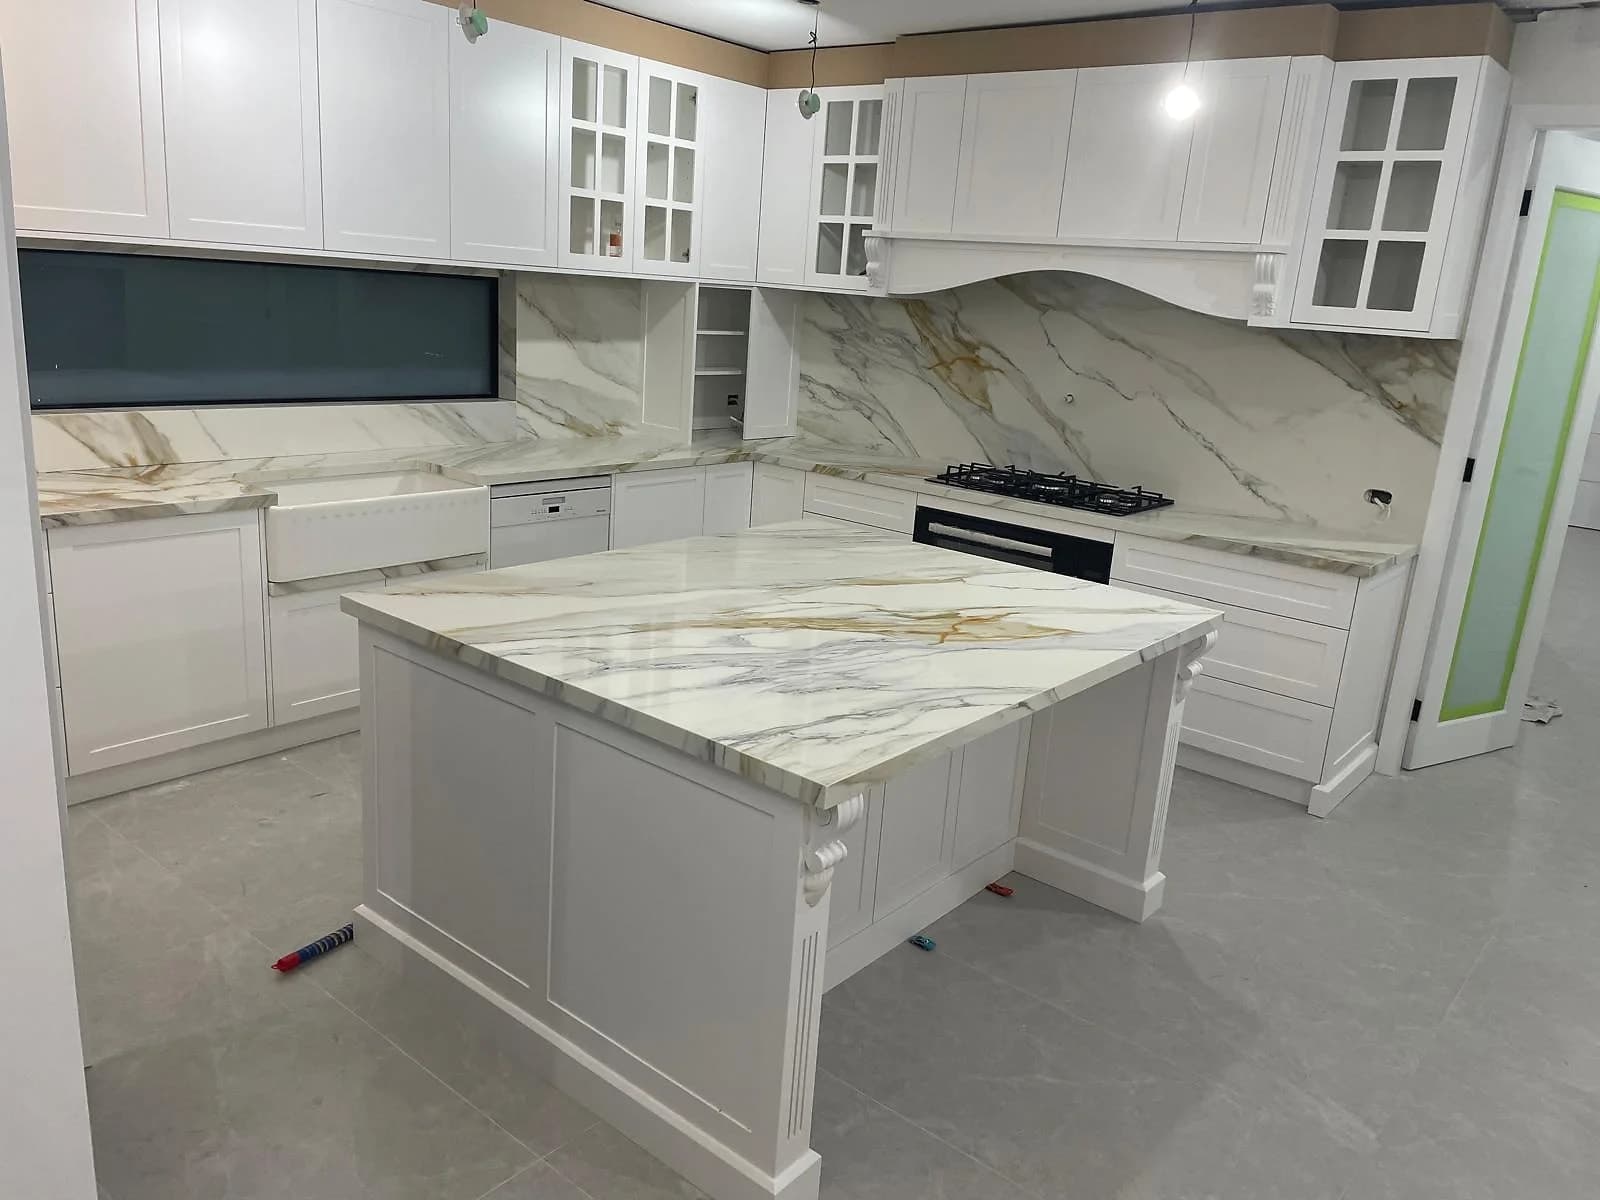
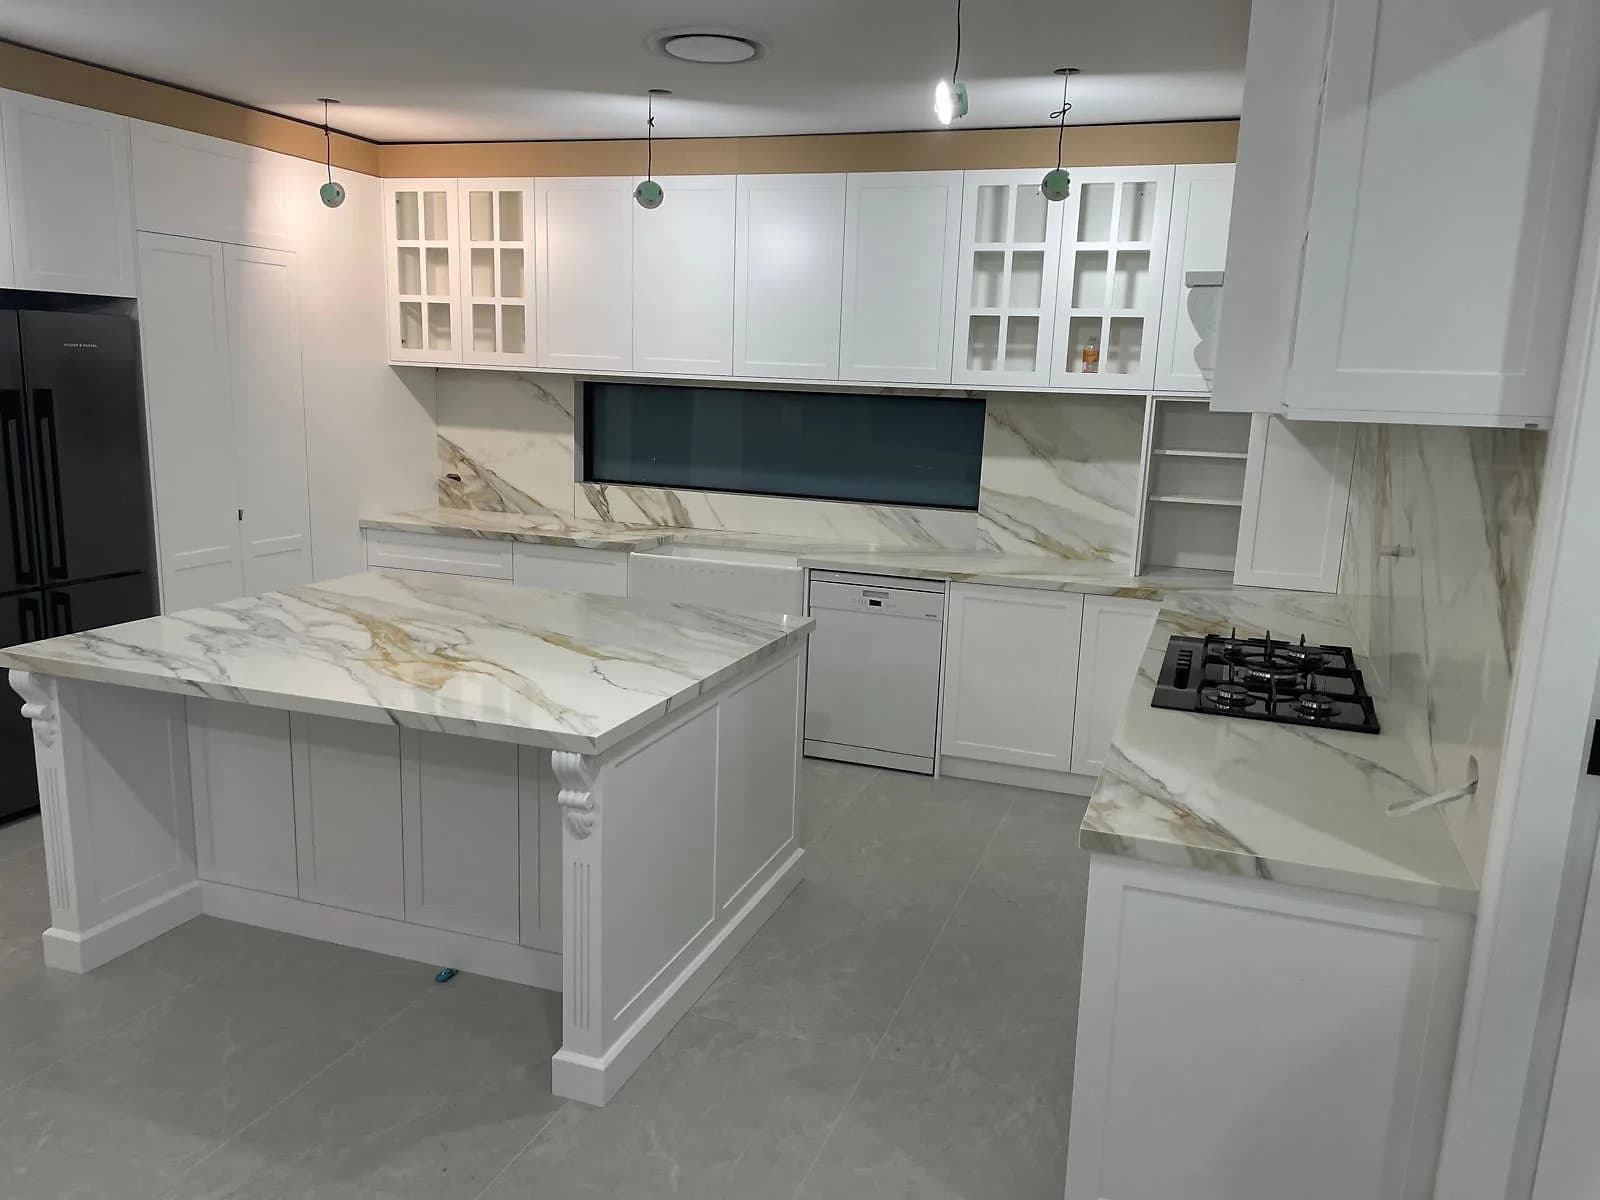
Natural stone can continue the benchtop vertically and create a strong, connected surface. Every slab varies, so veining, joins and the relationship between horizontal and vertical pieces need to be selected deliberately.
Stone type affects care and sealing. Follow the supplier's guidance for cleaning, heat and stain management, and make sure the chosen material is suitable for the intended use. Edge, cut-out and slab-size constraints should be understood before the final design is approved.
Porcelain and sintered surfaces
Large-format porcelain or sintered material can provide a stone-like visual with a different material composition and performance profile. It can reduce grout lines and coordinate with a related benchtop selection.
Fabrication, edge treatment, cut-outs and installation need experienced handling. Pattern placement and joins still matter, even when the printed surface is consistent.
Benchtop upstands and partial-height solutions
Not every wall needs a full-height feature. A short upstand can protect the bench junction, with a suitable painted or otherwise finished wall above where the cooking and wet-zone requirements allow. This can create a quieter result, but it should not place an unsuitable wall finish in a high-splash or heat-affected area.
Compare the practical details
| Material | Main strength | Main consideration |
|---|---|---|
| Tile | Broad design range and replaceable pieces | Grout lines, set-out and cleaning |
| Glass | Continuous, easy-clean surface | Accurate cut-outs and reflective effect |
| Natural stone | Strong connection to a stone benchtop | Slab variation, care and joins |
| Porcelain or sintered surface | Large format with limited grout | Specialist fabrication and edge detail |
Choose the benchtop and splashback together
These surfaces meet along one of the longest visible lines in the kitchen. Compare them in the same light with the cabinet door and flooring before ordering either one.
What changes the cost of a splashback
The main cost drivers are the material, the size and shape of the wall, and the number of cut-outs for power points, windows and the rangehood. A backlit glass panel, a feature tile or a stone splashback that wraps to match the benchtop costs more than a plain tiled run, and a replacement over an existing surface is priced differently from a fresh install. The price for your kitchen is set in a written quote once the material is chosen and the wall is measured.
Splashbacks in completed H&R kitchens
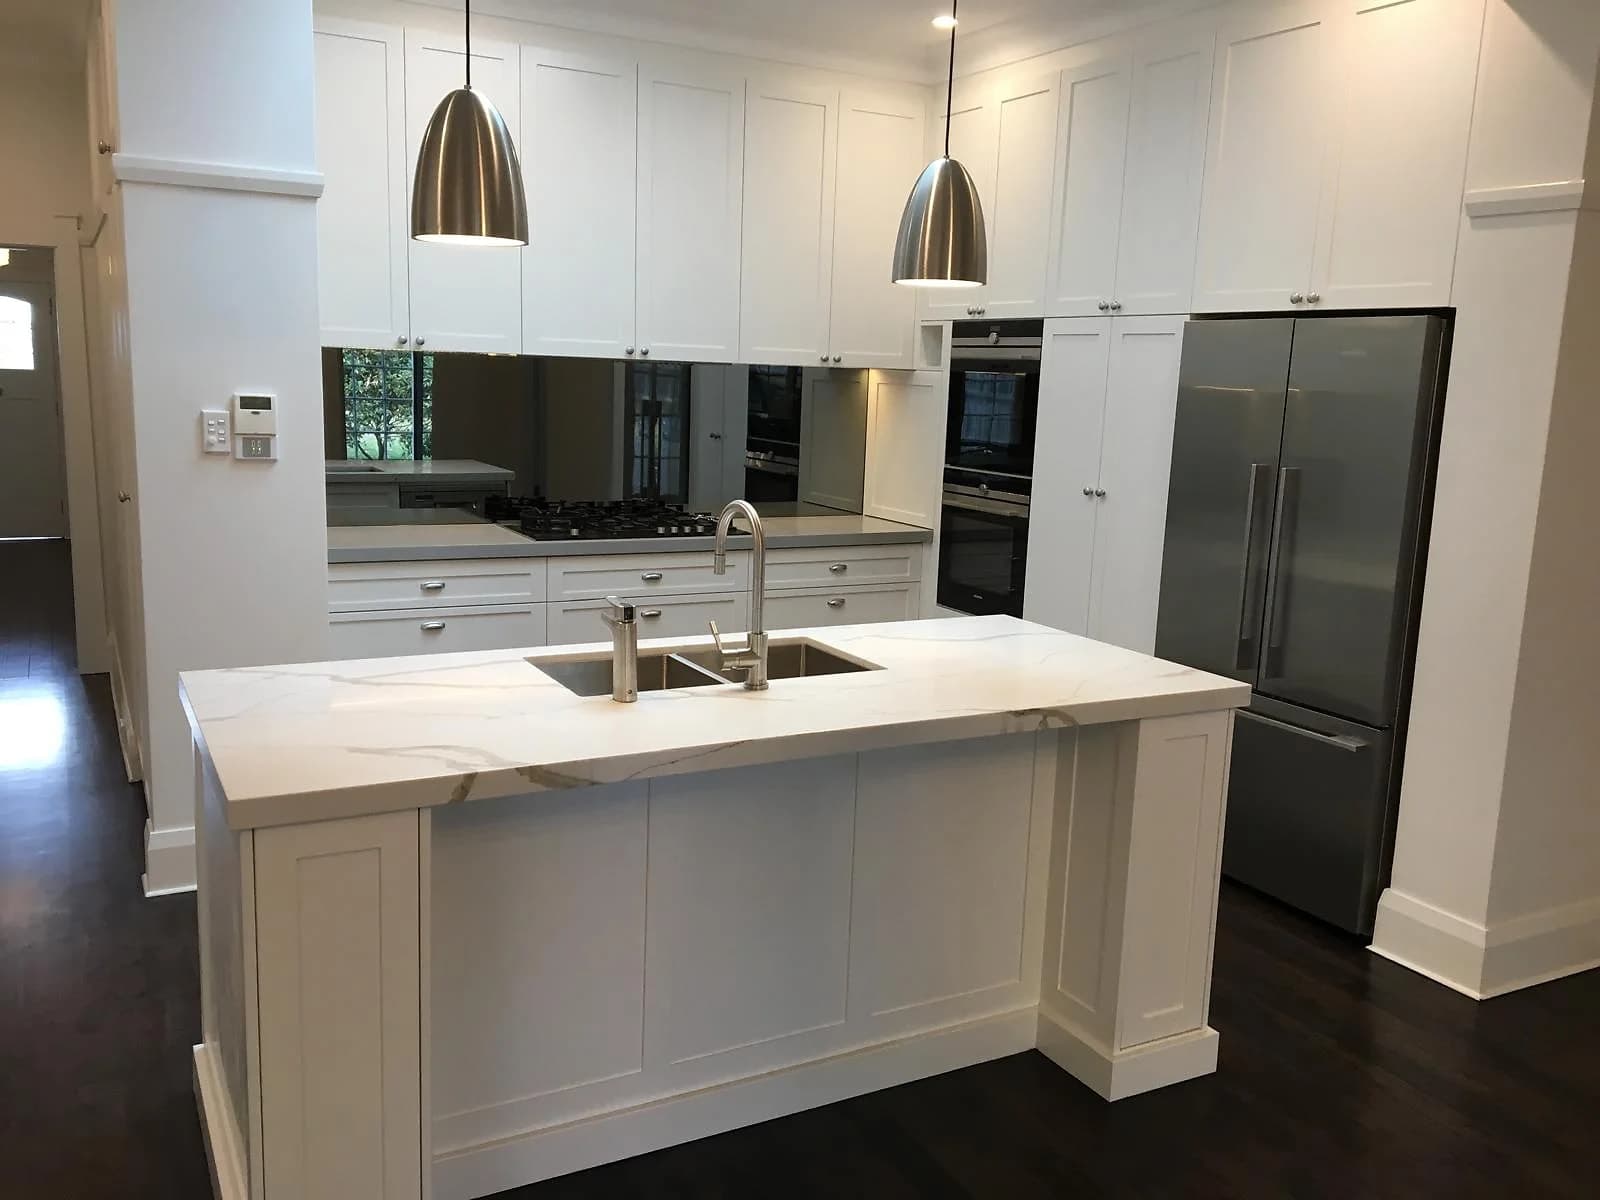
- Mirrored. In the Ryde timber and white kitchen, a mirrored splashback extends the sense of depth behind the bench, and the Parramatta galley kitchen pairs a black mirrored splashback with handleless white cabinetry. Like reflective glass, a mirror shows the room around it, so judge the effect in place.
- Tile. The Kellyville alfresco kitchen uses a glossy elongated-hex tile against copper-toned cabinetry, and the Five Dock kitchen has a tiled splashback with its profiled white cabinetry.
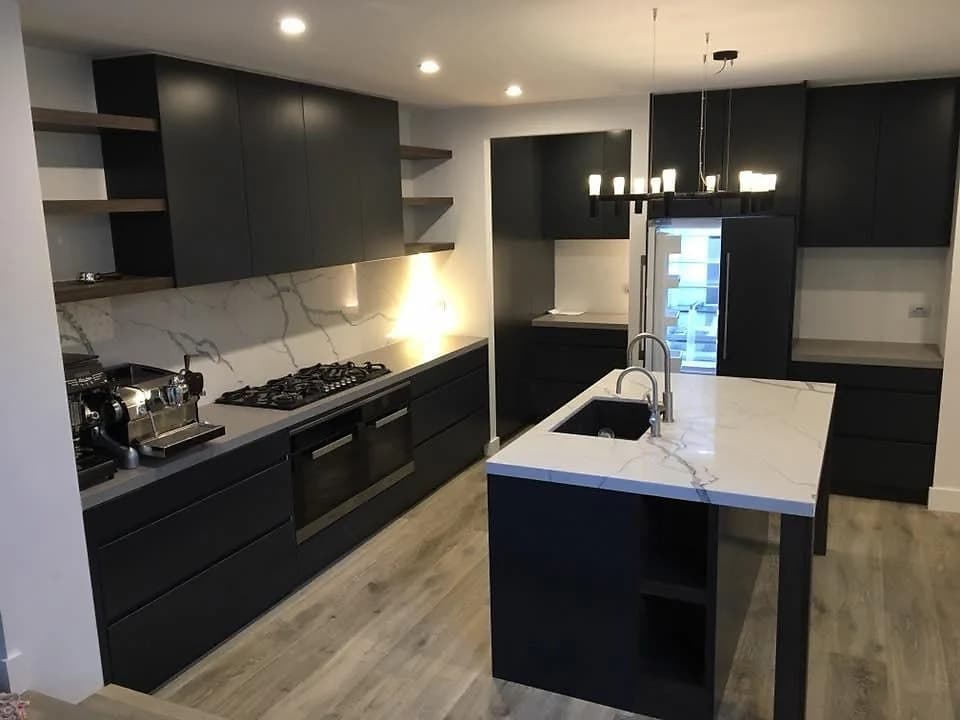
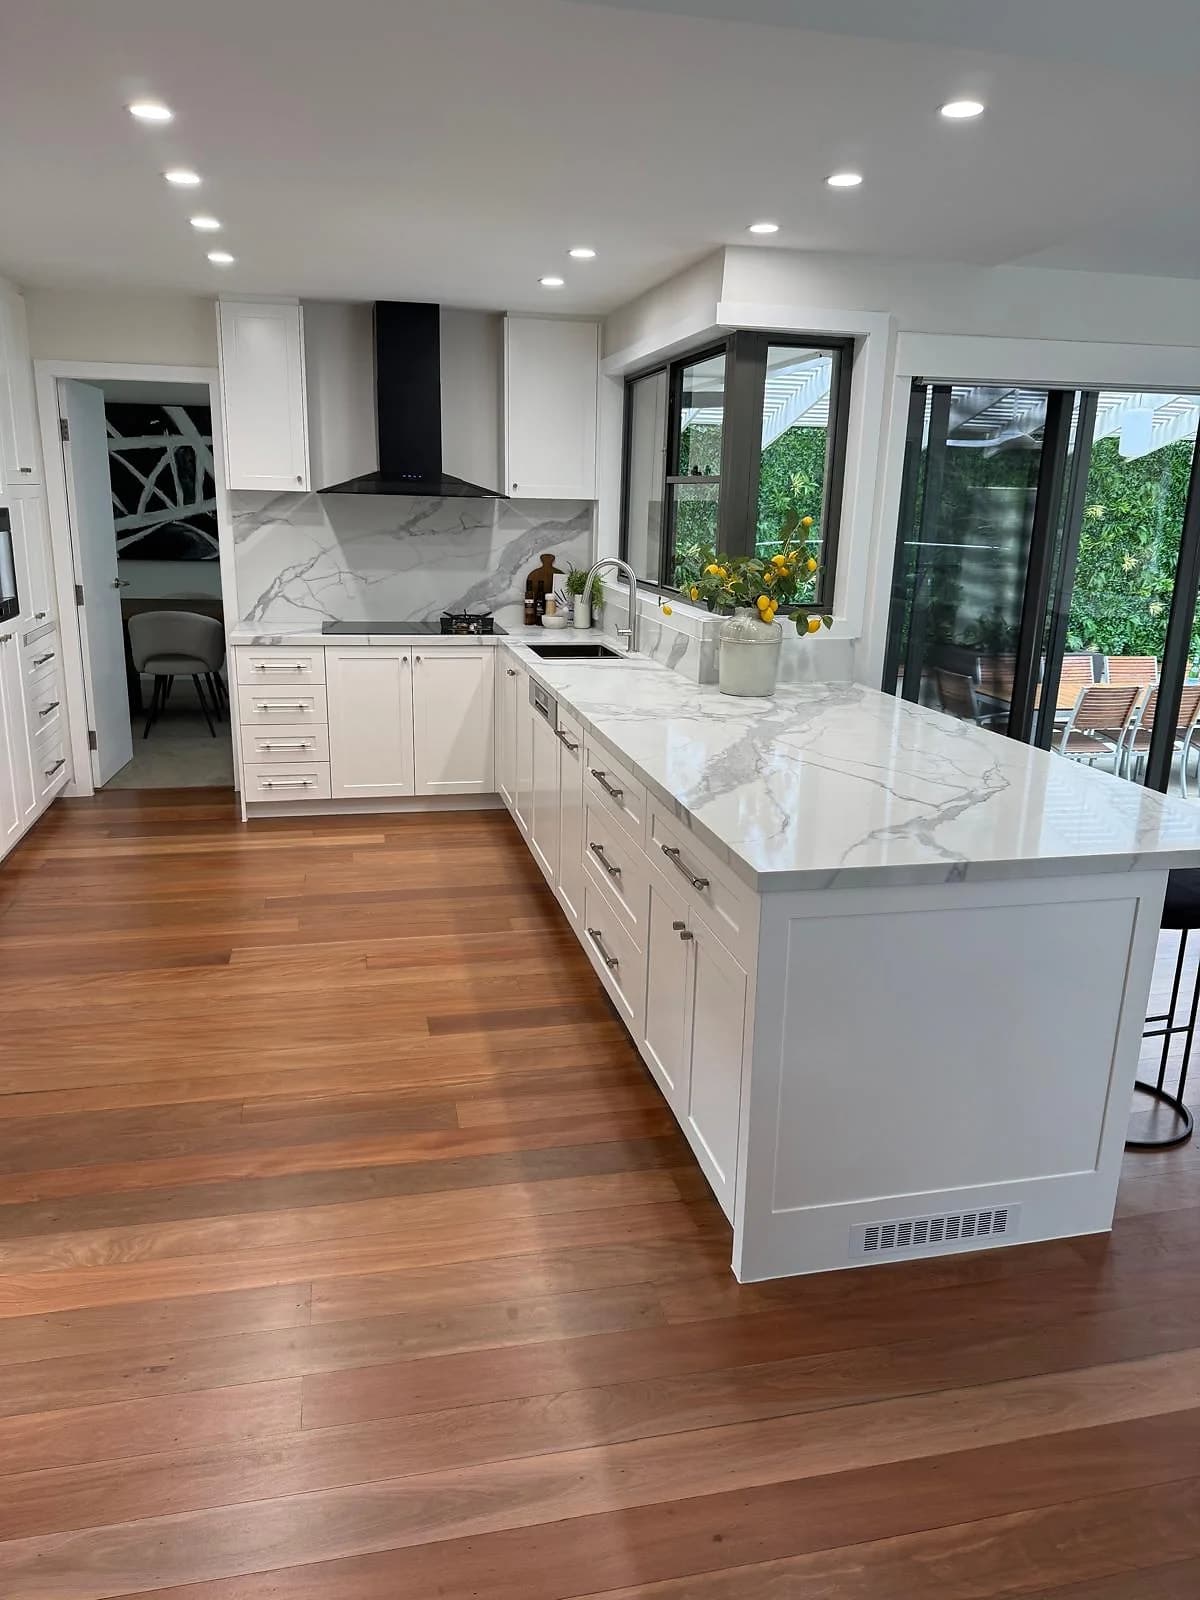
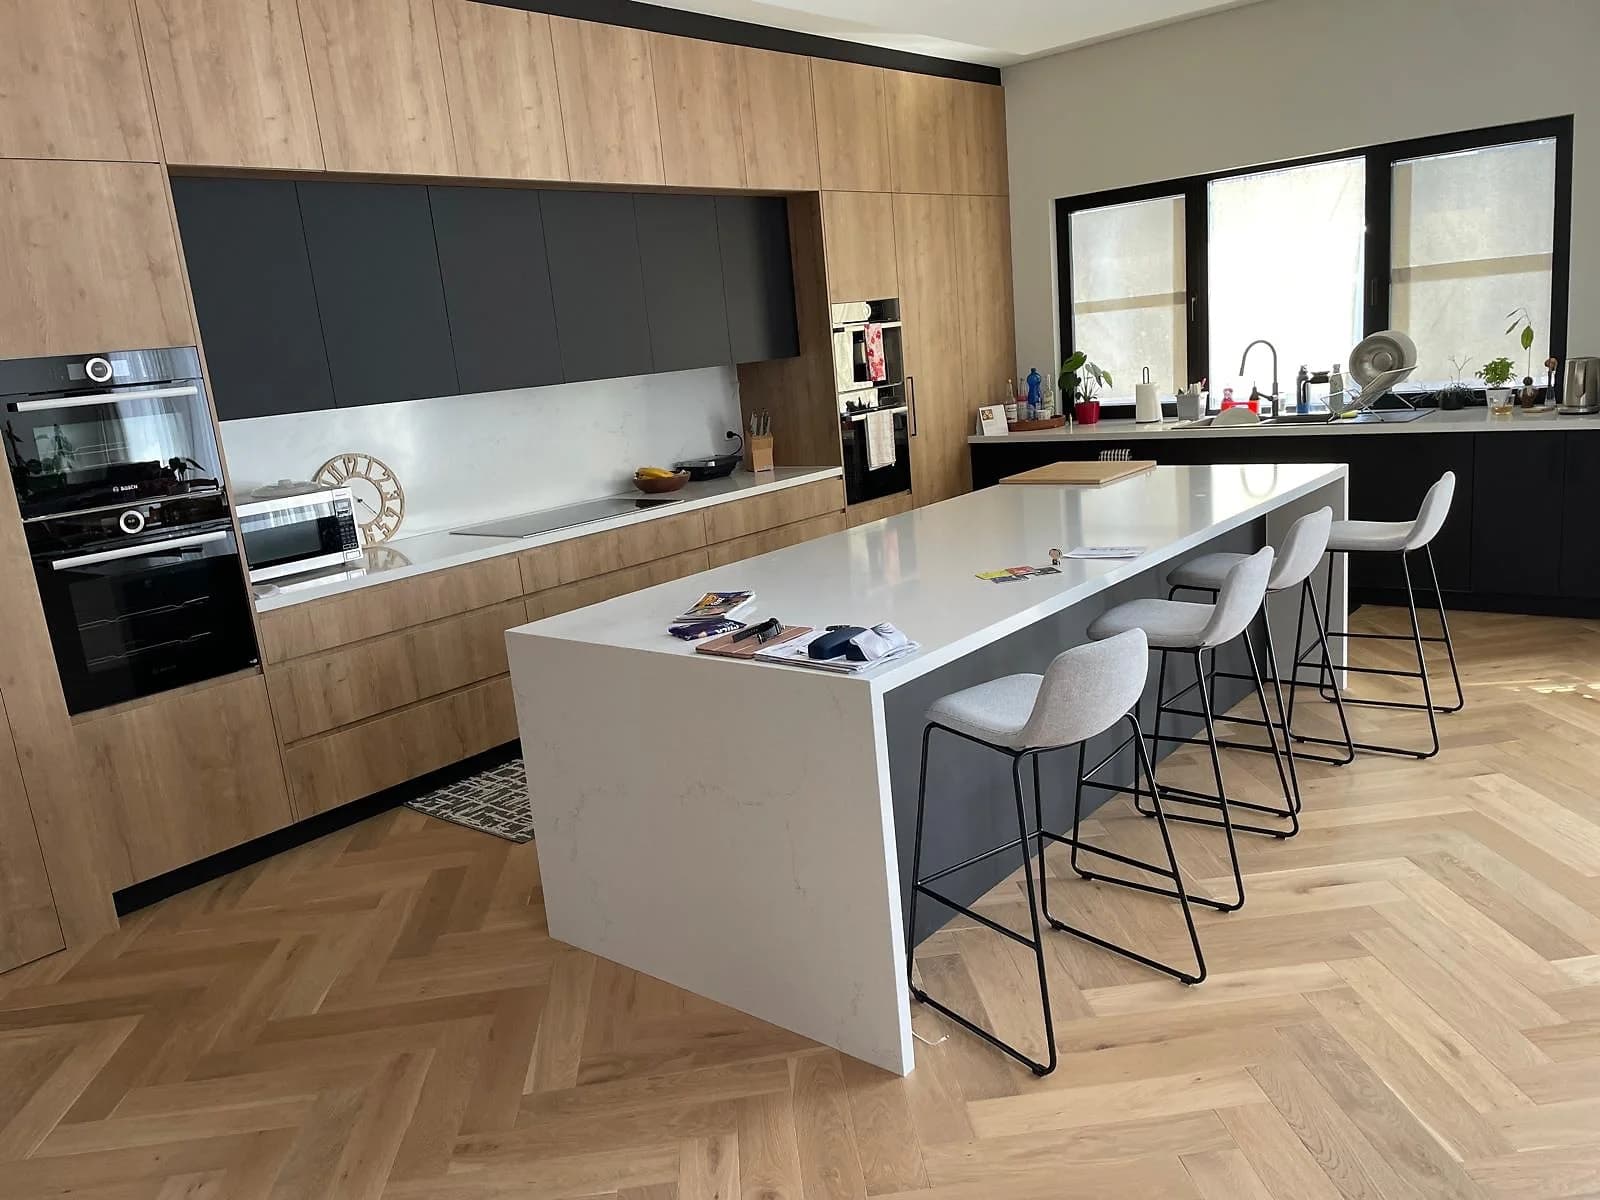
- A surface continued from the bench. The Dover Heights kitchen has a continuous stone-look splashback, and in the Burwood kitchen the pale marble-look surfaces continue through the splashback and the peninsula's waterfall end.
Heat and appliance requirements
The material and installation around a cooktop must follow the appliance manufacturer's clearances and the applicable requirements. Do not assume a material is suitable because it is marketed for kitchens. Confirm the specified product, substrate, adhesives and edge details with the responsible trades.
How H&R Kitchens plans the finish
Our kitchen splashback service is coordinated with cabinetry and benchtops so the height, set-out, power points, returns and visual lines work as one room. The benchtop comparison guide helps with the adjoining surface choice.
Send a photo of the room, the cabinet finish and any surface samples when you are ready to discuss the kitchen finishes.
Frequently asked questions
Which splashback is easiest to clean?
Continuous glass and large-format surfaces have fewer joints, while tile includes grout lines. The finish, joint detail and cleaning products recommended for the specific material still matter.
Can the benchtop continue up the wall?
Often, yes, if the selected material, slab size, fabrication, substrate and appliance clearances support it. Pattern placement and joins should be planned before ordering.
Should the splashback be the feature?
Only if the room benefits from one. In kitchens with strong stone, timber or cabinetry detail, a quieter splashback may produce a more balanced result.