Kitchen Splashback Cost in Sydney (2026)
What a kitchen splashback costs in Sydney in 2026 in tile, glass and porcelain or stone slab, and what changes the price.
- Sydney homes since 2005
- NSW licence 487713C (Carpenter)
- $20m public liability
- Made and installed by H&R
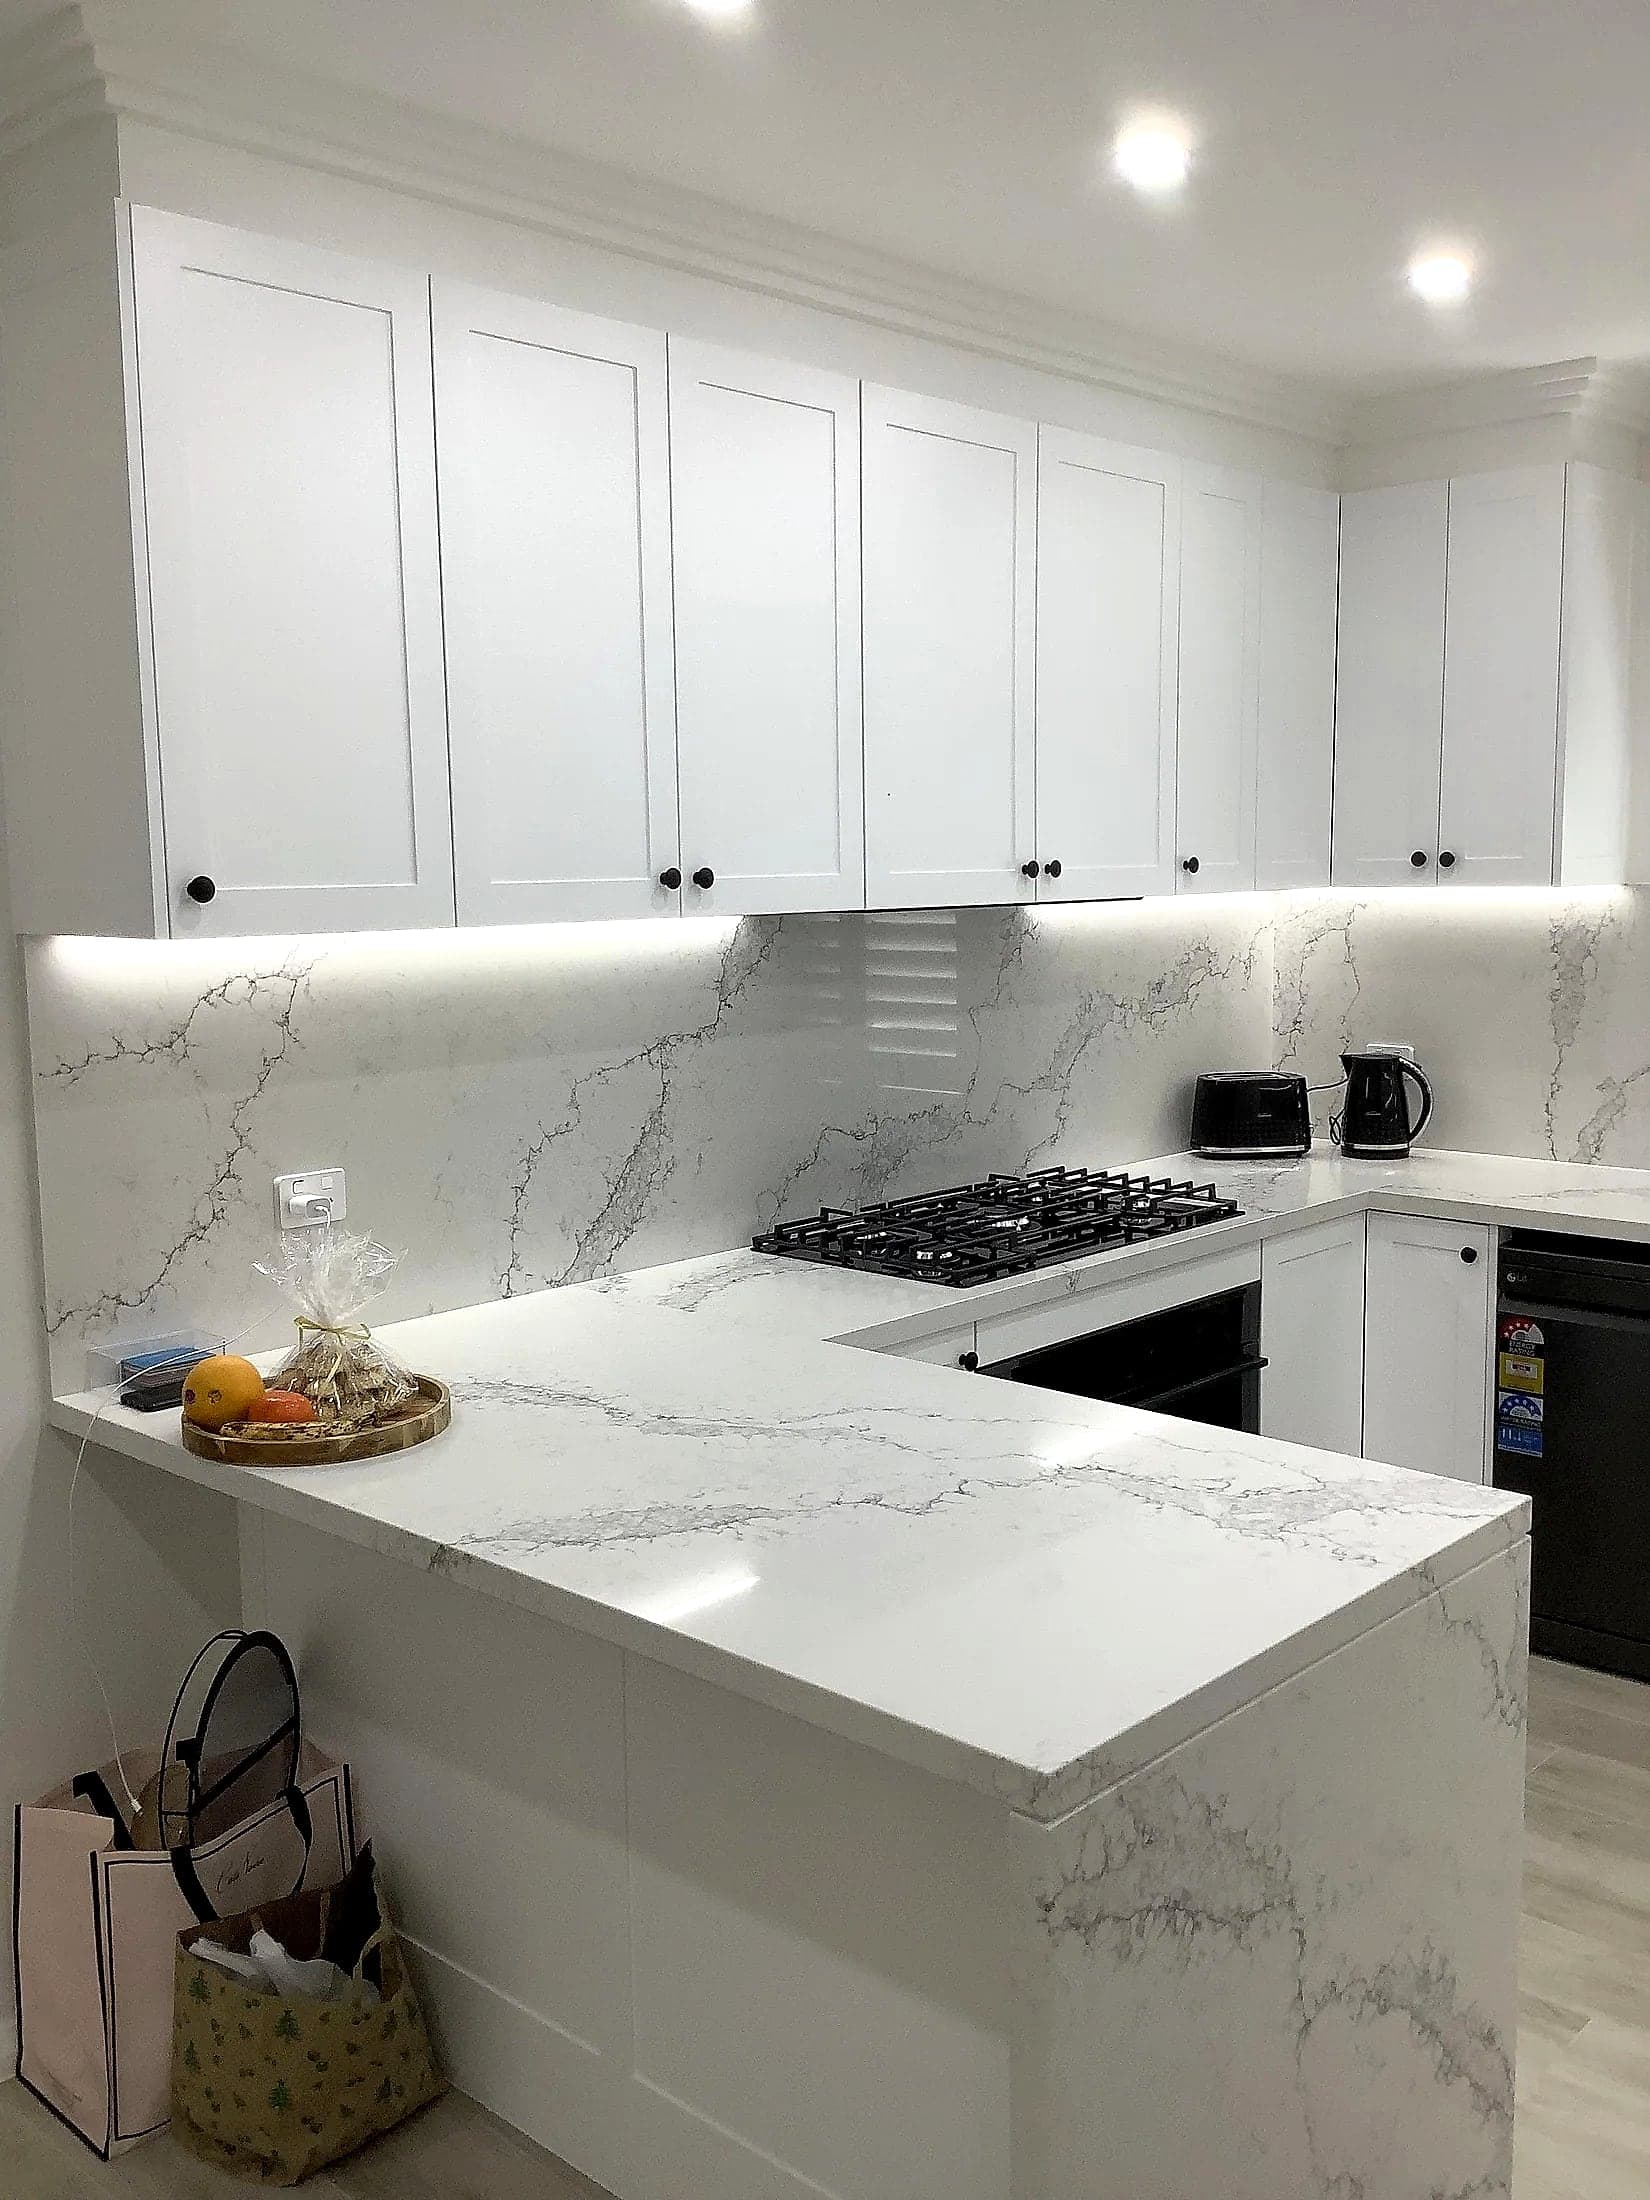
As a Sydney planning guide for a typical kitchen, a tiled splashback costs around $1,000–$2,500, coloured glass $1,500–$3,500, and a porcelain or stone slab $3,000–$6,000. These are planning ranges, not a quote: the price for your splashback is confirmed after the benchtop is in and the wall is measured.
| Scope | Typical range (AUD) |
|---|---|
| Tiled splashback for a typical kitchen | $1,000–$2,500 |
| Coloured glass splashback | $1,500–$3,500 |
| Porcelain or stone slab splashback | $3,000–$6,000 |
Typical Sydney prices, supplied and installed. Backlit glass is priced on quote. A planning guide rather than a quote. Reviewed October 2026.
A kitchen splashback is a small area with a big effect on the look of the kitchen. Its price follows the material, the size and shape of the wall and how many cut-outs it needs.
What drives the cost of a splashback
The material. Tile is usually the most economical, though feature and large-format tiles cost more to buy and lay. Coloured glass sits in the middle. Porcelain or stone slabs cost more, especially when cut from the same material as the benchtop.
The size of the wall. A short strip behind the cooktop costs less than a full-height splashback that runs to the overheads or the ceiling.
Cut-outs. Power points, windows, rangehoods and shelving all need precise cuts, which matter most in glass and slab.
Lighting. Backlit glass and LED strips above the splashback add electrical work. Backlit glass is priced on quote.
Replacing an old splashback. Removing old tiles can damage the wall behind and add patching before the new surface goes on.
| What you choose | Tends to cost more | Tends to cost less |
|---|---|---|
| Material | Porcelain or stone slab, backlit glass | Standard tile |
| Height | Full height to the ceiling | Standard height to the overheads |
| Cut-outs | Several power points, a window, a rangehood | Few or none |
| Match | Cut from the benchtop slab | A complementary material |
Where to save, and what not to cut
Ways to save:
- Use the feature material behind the cooktop only. Tile elsewhere keeps the cost down.
- Keep the power points where they are. Moving them adds electrical work.
What not to cut:
- Measuring after the benchtop is fitted. The splashback sits on the finished benchtop, so it is measured last.
- The right material behind the cooktop. Check the clearances and heat tolerance for your cooktop.
What these choices look like in finished kitchens
- A mirrored splashback. The timber and white mirrored kitchen uses a mirrored splashback with timber-look overheads.
- A black mirrored splashback in a galley. The white galley kitchen pairs it with handleless white cabinetry.
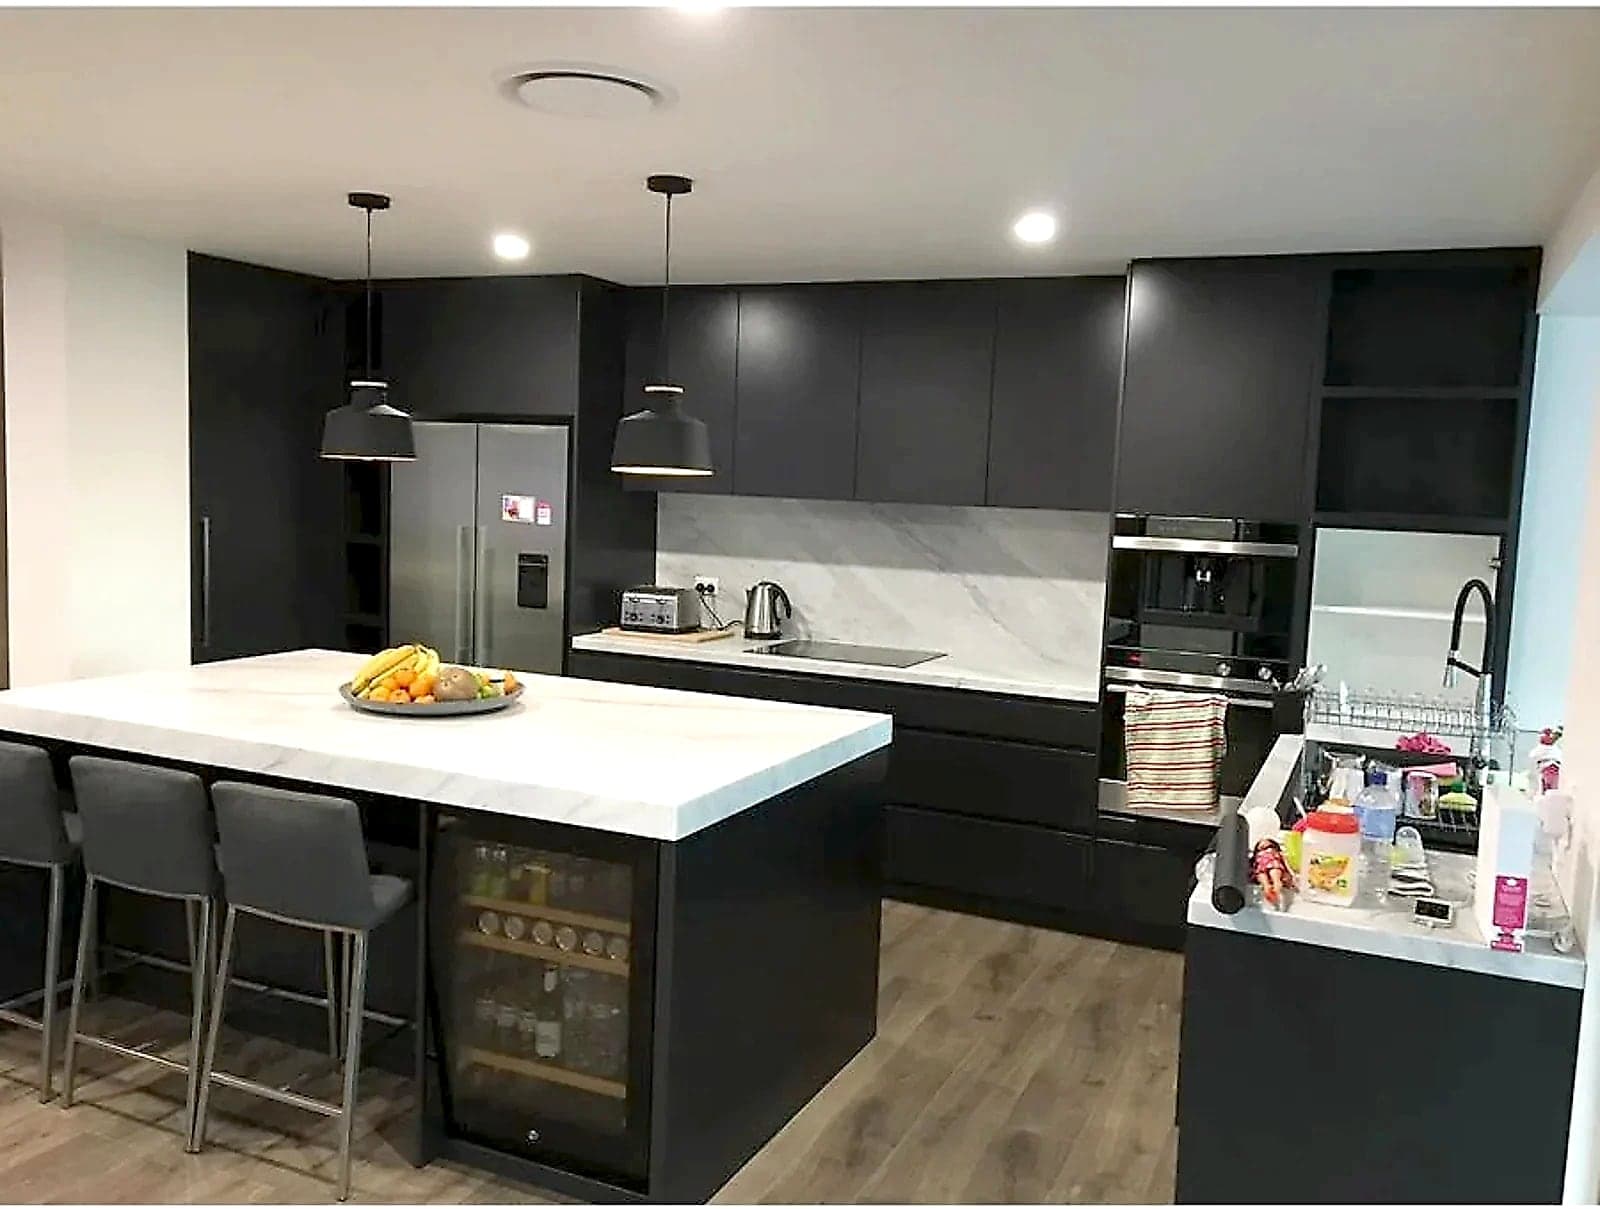
- Surfaces that continue up the wall. The black, white and gold kitchen runs pale marble-look surfaces through the splashback.
How to get an accurate splashback quote
Send a photo of the wall, its rough length and height, your suburb and the material you are considering. Say whether the benchtop is staying or being replaced.
See how kitchen splashbacks are measured and fitted with H&R, or compare tile, glass and stone splashbacks.
Frequently asked questions
Which splashback is easiest to clean?
Glass and slab wipe down in one pass with no grout lines. Tile gives more pattern and colour.
Can a splashback match the benchtop?
Yes. Porcelain and stone splashbacks can be cut from the same material as the benchtop for a continuous look.